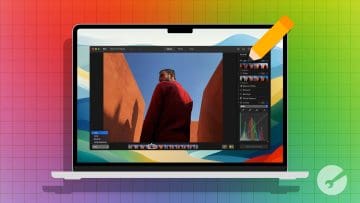
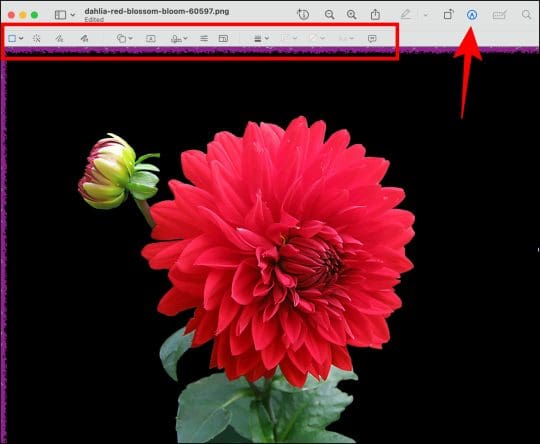
When you are browsing photos through the Finder app, double-click on any photo (or press spacebar) to open it in Preview. From here, you can easily edit the picture on your MacBook for free and without Photoshop. Click on the Pen icon at the top-right of the photo once it opens in Preview. You will get multiple editing options in the toolbar.
Here’s everything you can do using the available tools:
Rotate image: Click on the Rotate icon next to the Markup tool to rotate your image
Select or crop a picture: You can use the rectangular selection, Lasoo, Elliptical, or Smart Lasoo. To crop a picture using Preview, use the selection tools to select the desired part. Once selected, the Crop icon will show in the toolbar. Click it to crop the picture.
Remove the background from your image: Click the Instant Alpha icon, select the areas to remove, and then press Delete.
Convert drawing into shapes: Sketch tool.
Draw on image: Draw tool.
Add shapes and magnification: Shapes tool.
Add text: Text tool.
Add signature: Sign tool.
Adjust the picture’s color: Using the Adjust Color tool.
Change the dimensions: Using the Adjust size tool.
Customize the shape’sthickness and style: Shape style.
Change the color of lines in shapes: Border color.
Fill shape with desired color: Fill color tool. This is different from the Windows Paint’s Fill Tool, which could fill any selection with the desired color.
Customize text like changing the text color, font, size, etc.: Using the Aa tool.
Add image description for screen reader tools: Image description tool.
Method 2: Using the Photos App
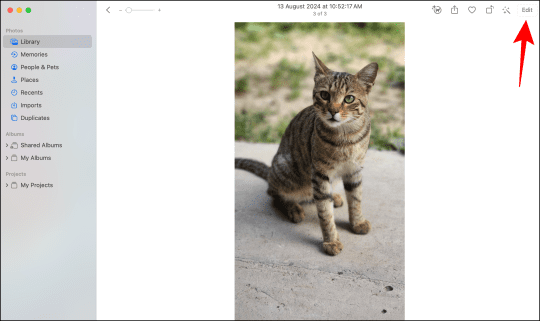
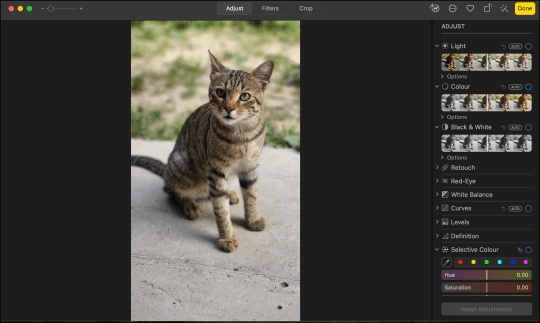
The pre-installed Apple Photos app offers excellent tools for editing pictures on MacBook for free. You can use it to perform basic editing tasks like crop, rotate, change aspect ratio, and flip. Not only that, but you can also add filters and adjust color, clone images, remove red eye, and add vignettes, among various other things. Open the picture in the Photos app and click on the Edit button at the top.
If you want to go a bit further and add text, draw shapes, or remove the background from the image, use the Markup tools to edit your picture. These are the same tools that you see in Preview. To access them from Photos, click on the three-dot icon in the top bar of the photo and select Markup. Then, edit the picture as per your need.
A few things to note:
All the editing tools are free in both the Preview and Photos app.
Photoshop is a professional tool for editing pictures. While you don’t get all the features on MacBook, there are some free third-party apps that you can try, too, like GIMP, Photoscape, and Photopea.
If you are looking for paint on a MacBook, try this online tool.
Mehvish Mushtaq is a computer engineer by degree. Her love for Android and gadgets led her to develop the first Android app for Kashmir. Known as Dial Kashmir, she won the prestigious Nari Shakti award from the President of India. She has been writing about technology for 6+ years and her favorite categories include how-to guides, explainers, tips and tricks for iOS/iPadOS, Android, social media, and web apps.


Write a Comment