Once Apple began taking the “productivity tool” approach with the iPad, there had been a glaring omission. Apple had not included a proper file management system for documents and other files.
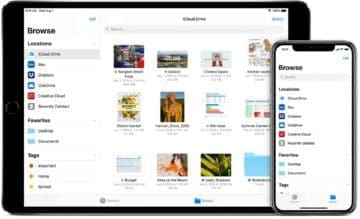
That all changed with the release of iOS 11, thanks to the inclusion of the Files app. Since then, the app has been fine-tuned and tweaked to really become a powerhouse app included with all iOS 12 devices. Finally iPadOS delivers what power iPad users were waiting for!
The new iPadOS for iPad provided additional enhancements and flexibility to the Files App. Some of the new features that have been praised by users are the following:
External Drive Support: You can now easily attach an external drive / USB and access the files using the app. This helps in watching movies , music or even downloading your photos and videos from your iPad to the drive in order to free up the space on your iPad.
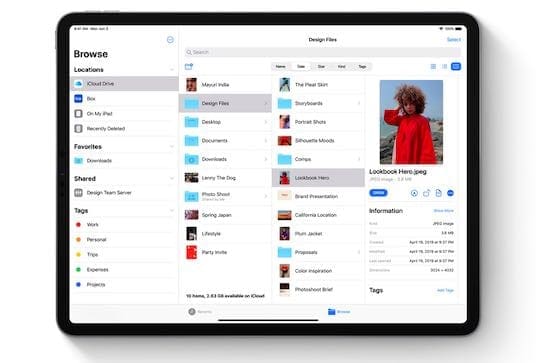
The new iPadOS offers a column view allowing you to browse files in a nested folder structure just like you do when using your computer.
Zip and Unzip actions on folders are a breeze with the new iPadOS. No need of a third party tool. Use the build in functionality to easily compress your files.
A variety of new Keyboard shortcuts makes it easy to navigate the Files app when using an external keyboard with your iPad.
Learn about the new iPadOS Files app features that make you more productive!
Today, we’re going to take a look at a few of the best tips and tricks to keep your documents organized in the Files app.
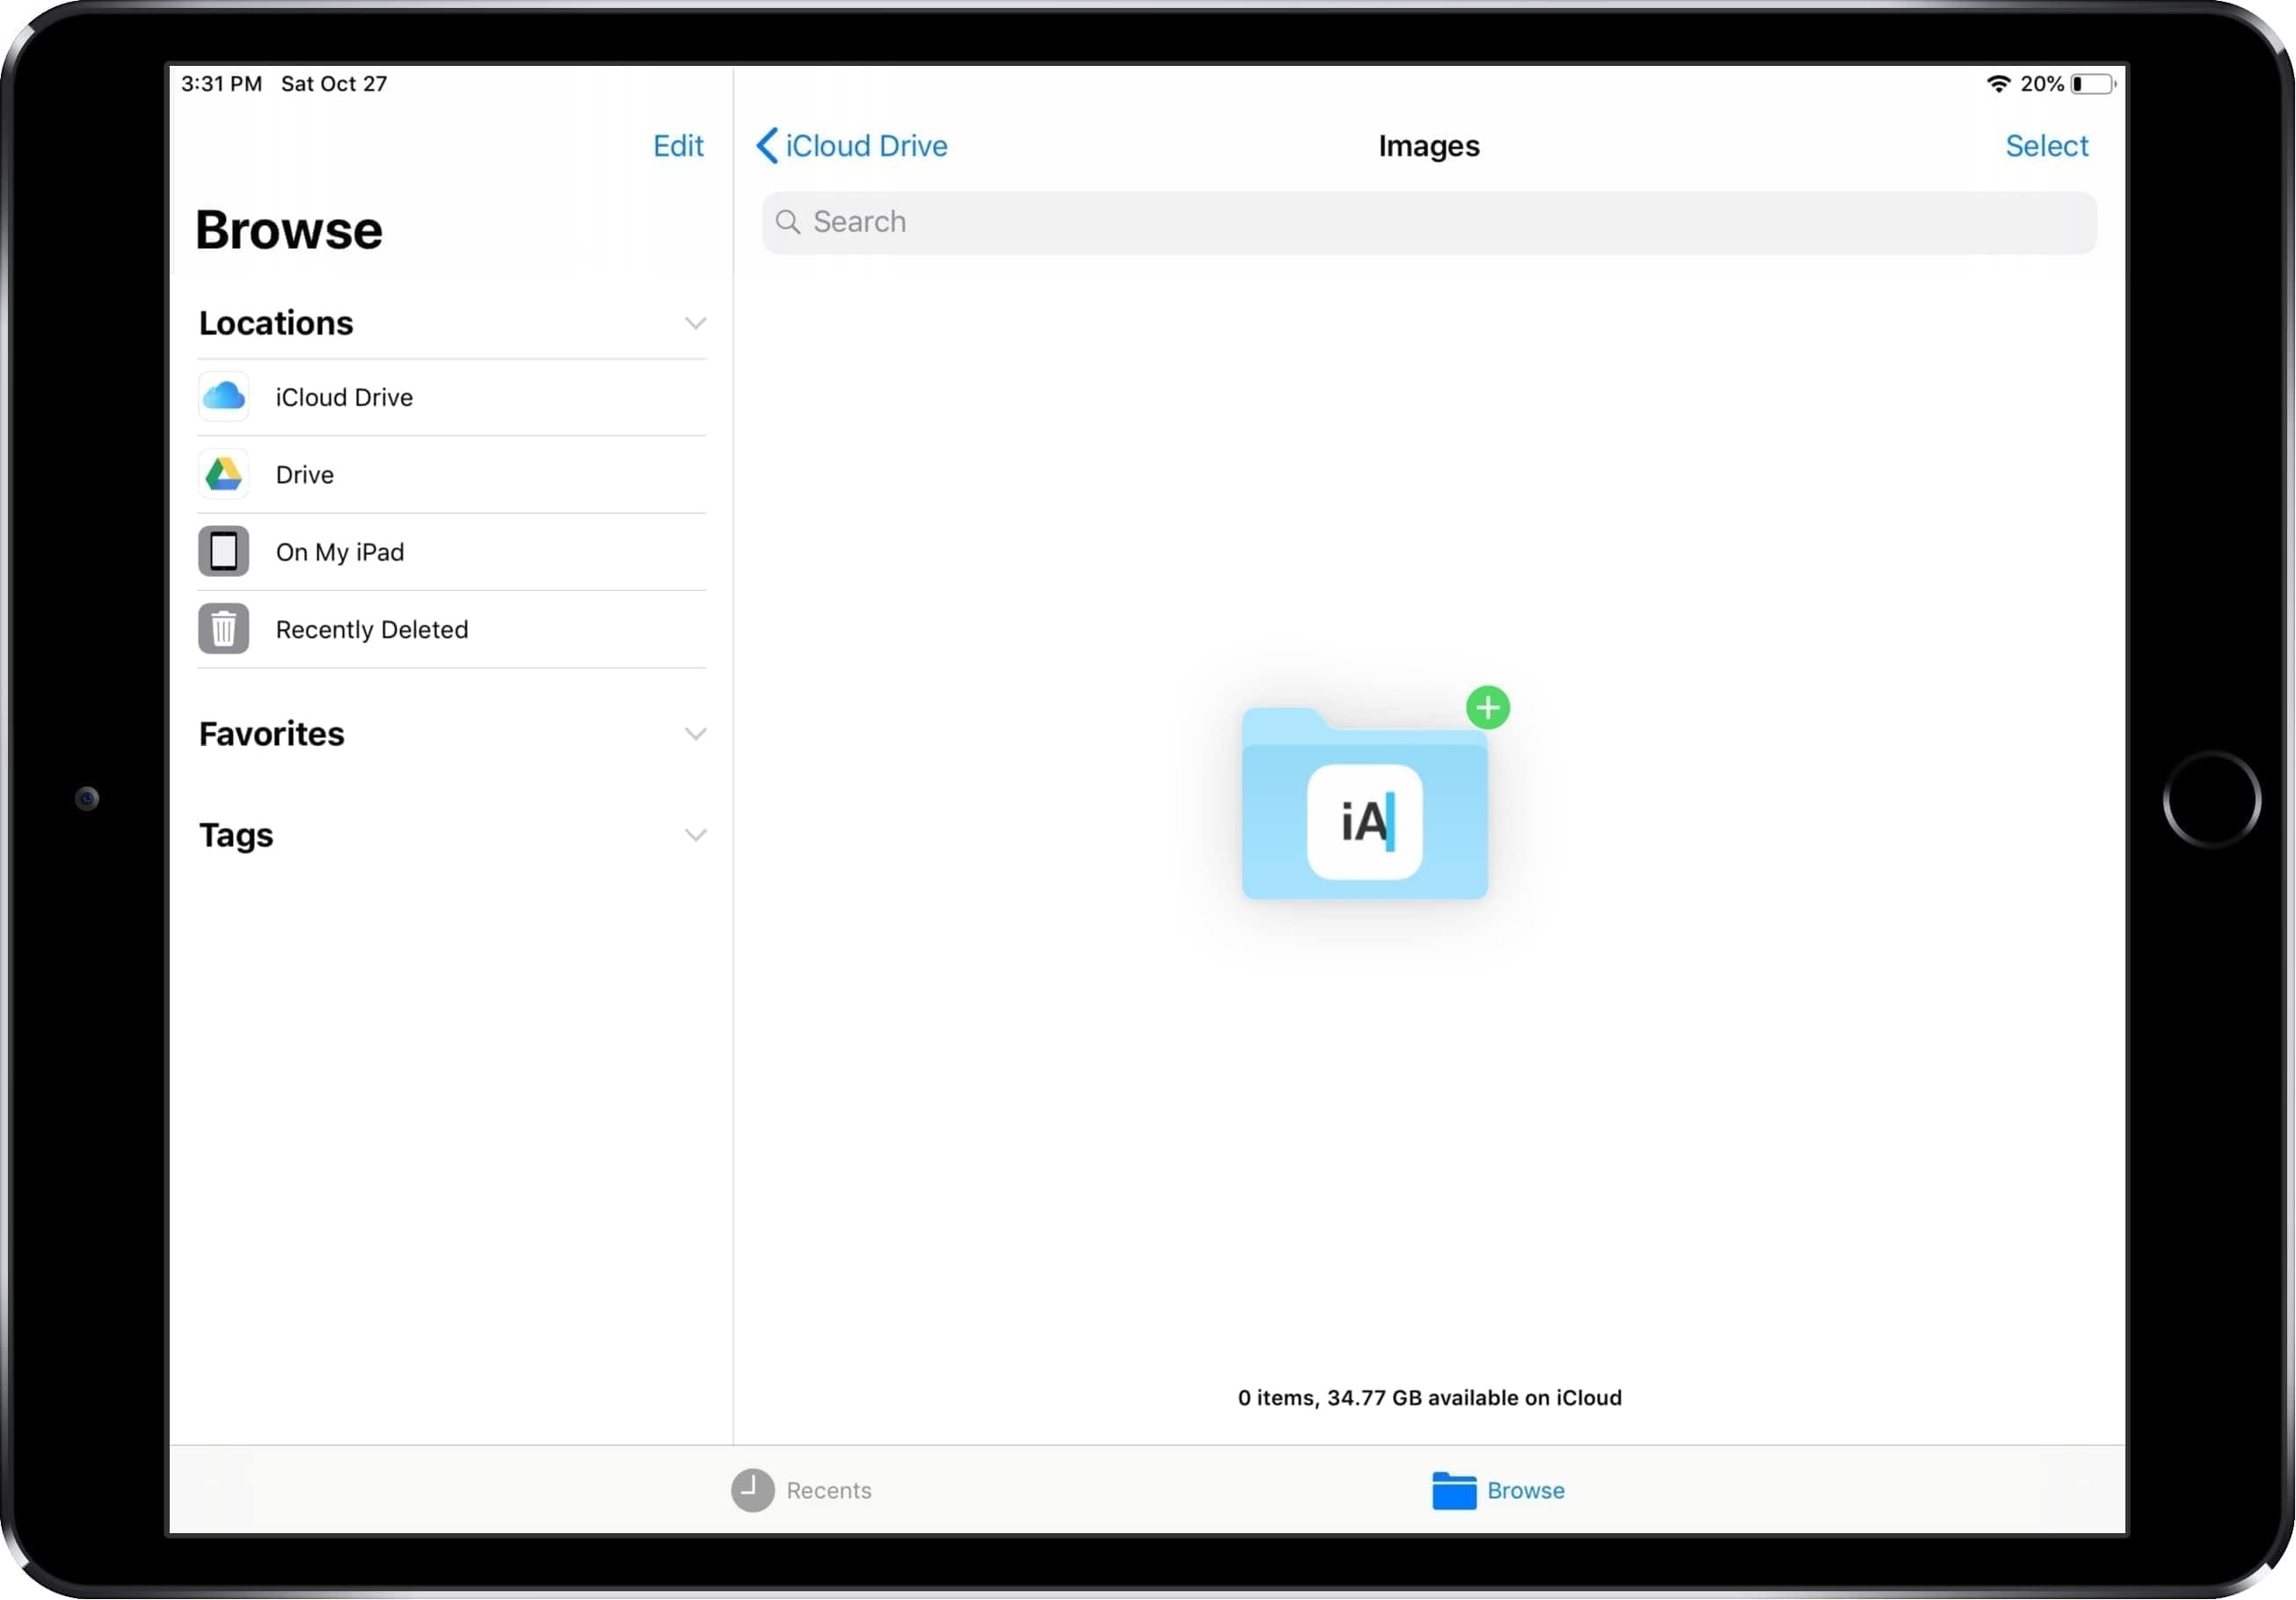
Access additional services (Dropbox, Drive)
One of the best things about the new Files app is that it actually integrates your other cloud services. This means that Files will serve as the “hub” for all of your files, making them accessible from just a single app.
You will no longer have to worry about finding the right app that your important file is saved to.
To get these services set up in Files, follow these steps:
Download and set up the third-party cloud app
It’s important to note that you must log into the cloud app before accessing it in Files.app
Open the files app
Tap Locations > Edit
Toggle the third-party services that you want access to
Select Done
Once completed, you can access all of these from the Locations section within the Files app. It may take some time for the files to populate the first time, but once they do, you’ll have access to everything you need.
Drag and Drop
This next feature is an absolute God-send for those who have to re-arrange or organize files. Apple finally has implemented multi-touch and drag/drop on its devices.
Essentially, this means that you can begin moving files and drag it into a folder without having to copy and paste. Simply press and hold down on the file, then drag the file over the folder you want to add it to.
Additionally, you can do this with multiple files and folders on your compatible iOS devices. Hold down on the first file that you want to move, then tap on the other files that you want to have moved.
This will create a stack of files, and you can drag them around until you get to the folder you need. Just drop them on the folder, and they will be appropriately organized from there.
Sort Documents and folders in Files
Speaking of sorting files, you likely will want to sort the files and folders within the Files app at some point in time. Maybe it’s because you have so many that you need to find the last one that was used.
Or maybe it’s just because you’re a stickler that likes to keep everything organized. Regardless of why Apple has made sorting files extremely easy.
When it comes to sorting, Apple offers four different options: Name, Date, Size, and Tags.
To sort your files according to how you want to do things, here are the steps:
Open the Files app
Navigate to any folder
From here, pull down on the file listing to reveal additional options
Choose the sorting option you would like to apply
Name – Sort alphabetically by file/folder name
Date – Sort by date of file/folder added
Sort – Sort by file size
Tags – Sort by tags used on files/folders
Once you have selected the proper sorting option, then your files will automatically be rearranged. From there you can keep the work flowing, or keep changing the sorting until you find the proper documents.
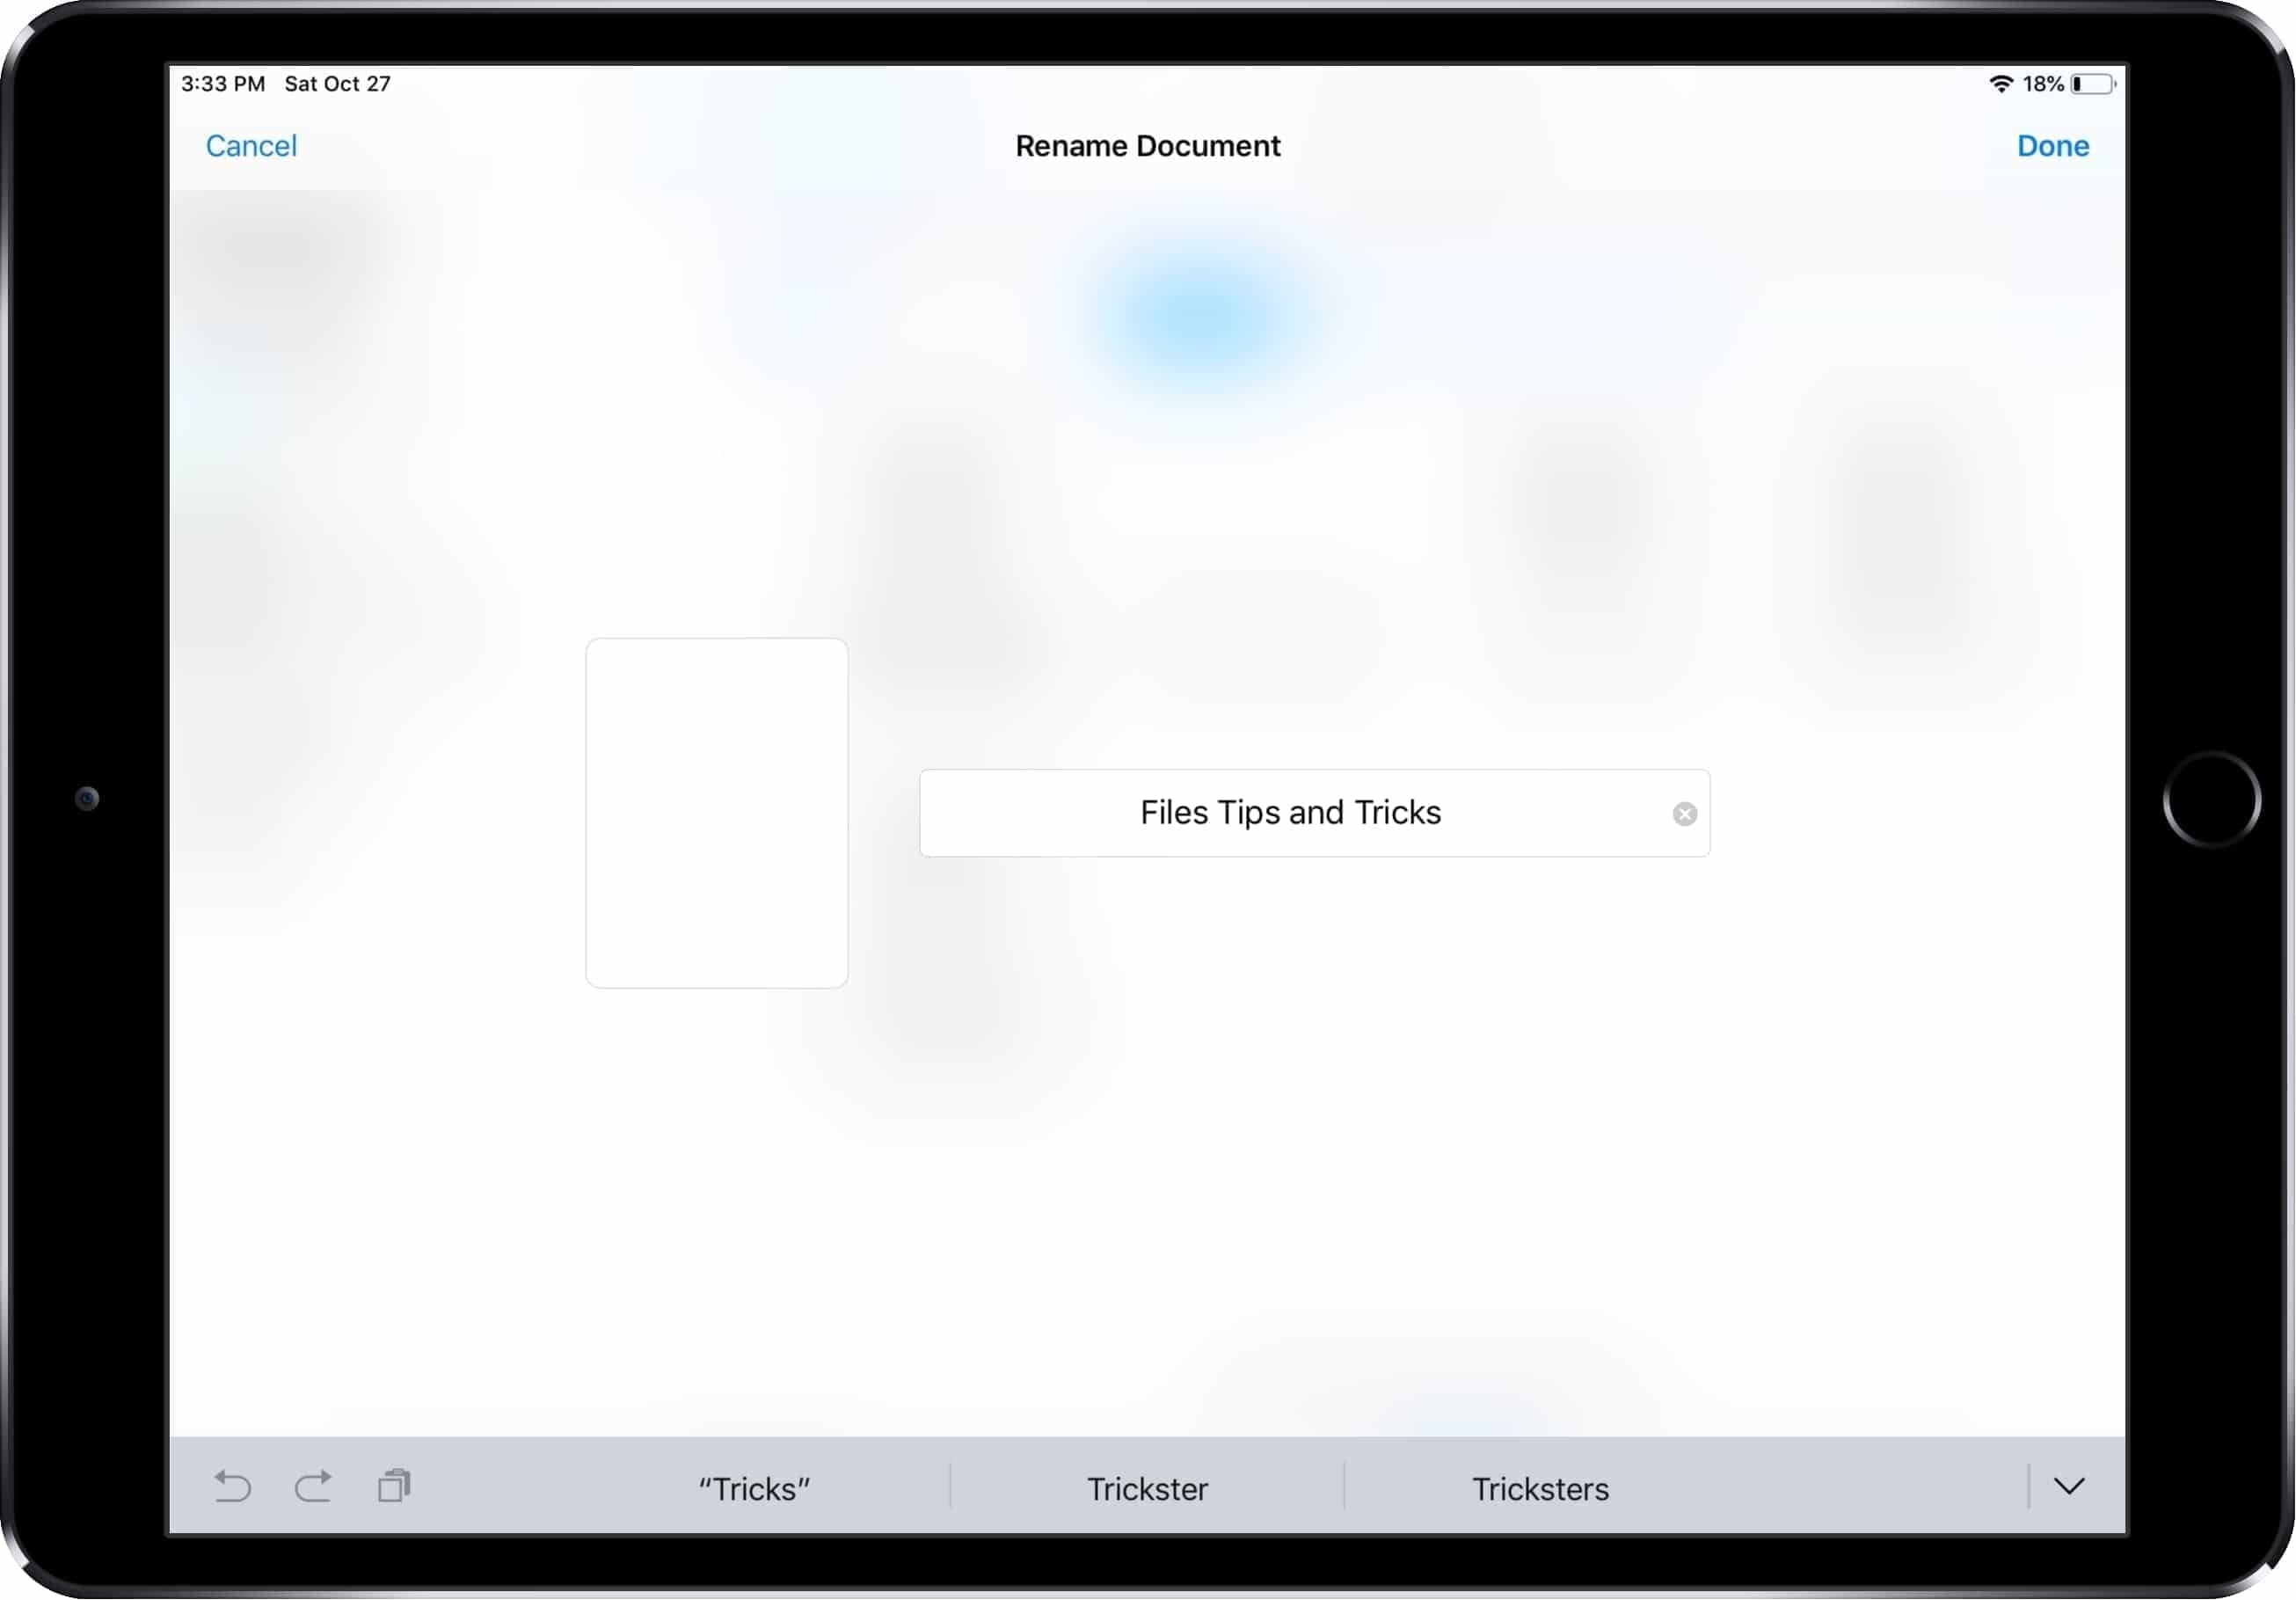
Rename Documents and Folders
Earlier, we spoke about how it can be important to be a stickler when it comes to keeping documents and files organized. One key way to do this is to make sure that your documents and folders are properly named.
Renaming Files and documents have been made even easier with the new iPadOS. Check our recent article below to see how this is done on the new iPadOS
There have been too many times where I know there’s a picture or screenshot of something, but I just can’t seem to remember the name. That’s because the naming rhetoric for these is just too annoying and makes it impossible to find.
Here are the steps you need to take to rename folders or documents in the Files app:
Open the Files app
Navigate to the file or folder you wish to rename
Tap on the file name
Enter the new name of the file
Tap Done
We emphasized the “name” of the file when tapping because just tapping on the file will open it. Obviously, this is not what we want to do, or you’ll end up opening a bunch of documents and folders just to rename them.
Create and manage tags
So we have just about gotten everything organized with our documents and folders in the Files app. There is one more method for organization that cannot be overlooked, as it has become increasingly more popular.
Apple introduced tags into the Files app, making it possible for you to add tags to various documents. This provides just another way to keep things organized, but without needing to use a bunch of different folders.
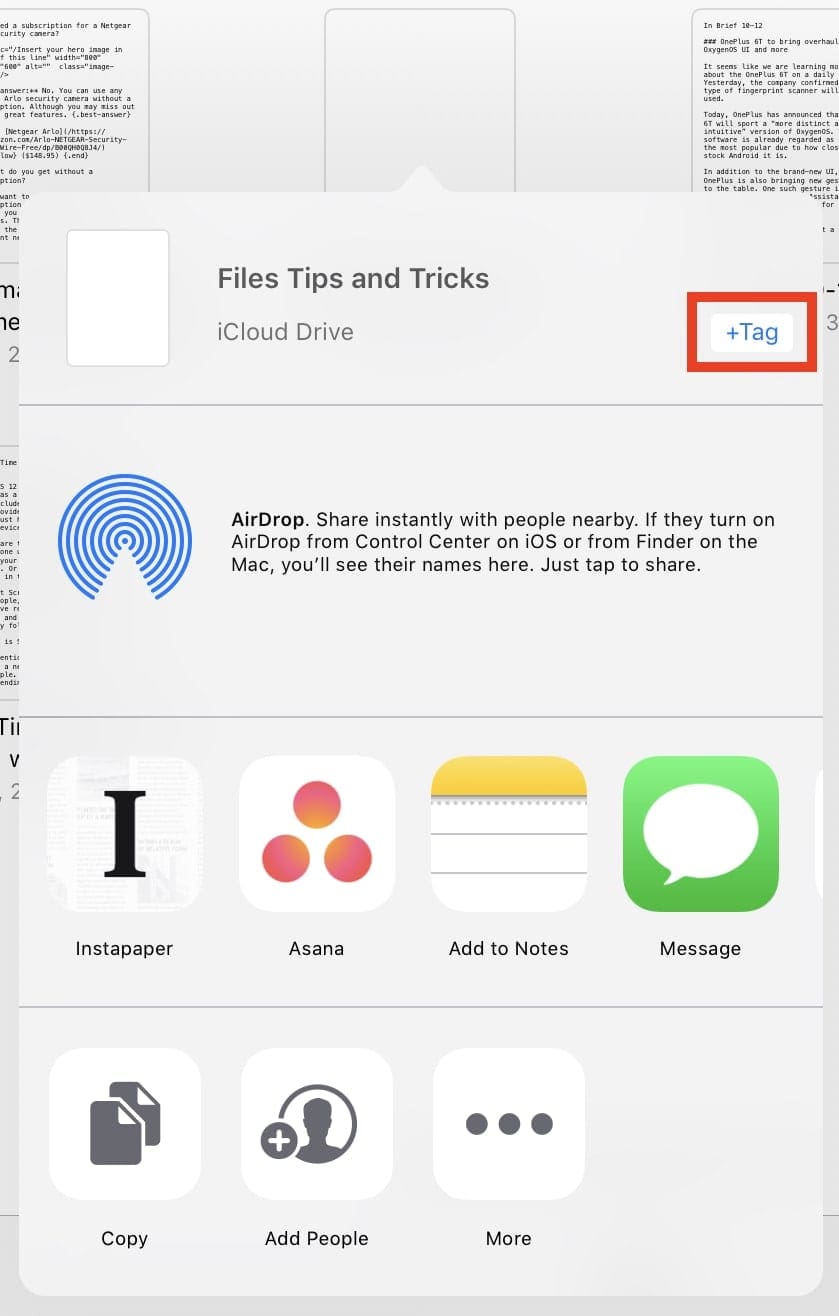
If you want to add a tag to a document, follow these steps:
Opens the Files app
Tap Select in the top right-hand corner
Select the document you want to tag
Tap the Share icon at the bottom of the screen
At the top of the share menu, tap +Tag
Enter the tag you want to use
Once completed, any of your files with a tag will appear in the Locations section of the Files app. Just tap Locations in the top right-hand corner, and look under the Tags section.
All of your entered tags will be displayed, so you can tap on the appropriate one and view all files.
Interact with a file
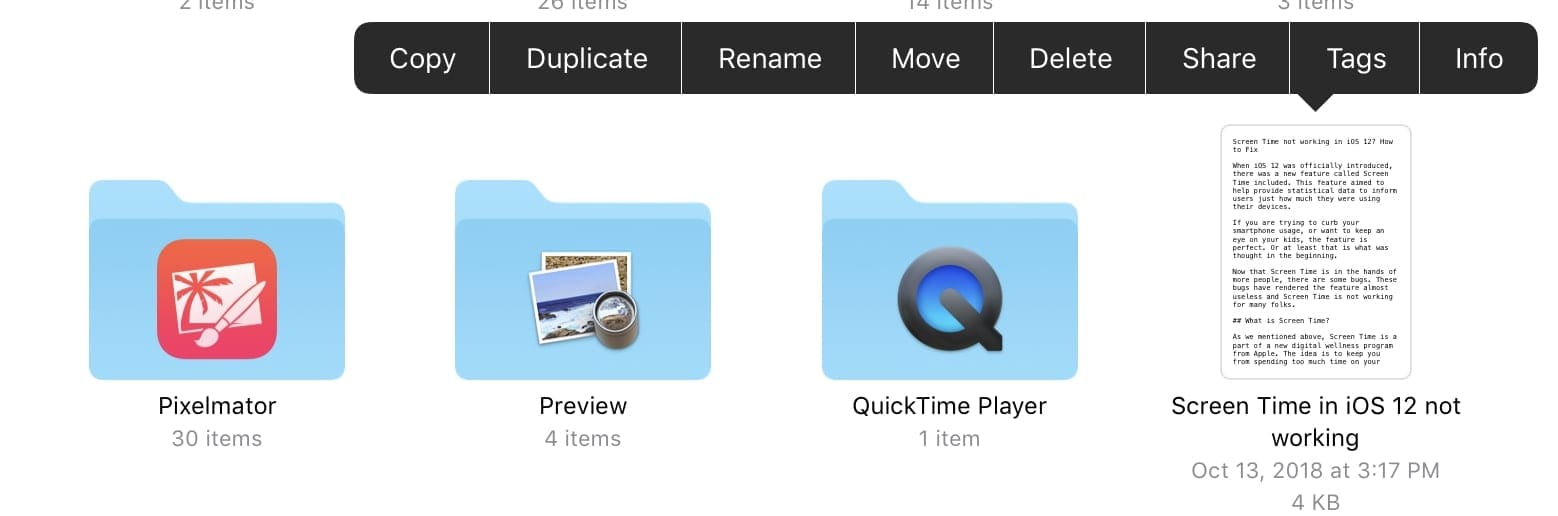
While drag and drop is cool and everything, the Files app has another trick up its sleeve when it comes to interacting with documents and folders.
You can take advantage of tags and everything, but there is a ”secret” menu available for documents in the Files app
Open the Files app
Press and hold on the document or folder
Release
Once completed, a new menu will appear which provide a few different options.
These options vary depending on what type of file you are interacting with:
Copy
Duplicate
Delete
Favorite
Tags
Info
Share
This is just another nifty little feature that users can take advantage of if they need to get some work done.
Recover deleted files
The dreaded “deleted file.” We’ve all been there before. You accidentally delete a file, and it’s in a shared folder, and it’s something that is necessary for what you’re working on. You can’t seem to find the file and don’t know where the “trash can” is.
Well, Apple has thought about those clumsy ones out there and has made it really easy to recover deleted files
Open the Files app
Tap Locations
Select Recently Deleted
Find the file needed
Tap Select in the top right-hand corner
Select the file
Tap Recover
Voila! Your deleted document/folder will be returned to the Files app so that you can get back to work without freaking out.
Conclusion
These are just some of the ways that you can get the most out of the Files app on your iPad. But we want to hear from you! Sound off in the comments and let us know some of your favorite tips and tricks!
Andrew Myrick is a freelance writer based on the East Coast of the US. He enjoys everything to do with technology, including tablets, smartphones, and everything in between. Perhaps his favorite past-time is having a never-ending supply of different keyboards and gaming handhelds that end up collecting more dust than the consoles that are being emulated.
Thanks for your article. I have a question. Actually 2. Why does Apple have such a closed file system? Windows Explorer is a much more open and lot easier to use!!
I’m using KeePass Touch, and I want to transfer the file (data base) *.kdbx from a previous version. But Files App does not see KeePass Touch in Locations. How do I add third party apps like KeePass to the Location list?


Hi Andrew,
Thanks for your article. I have a question. Actually 2. Why does Apple have such a closed file system? Windows Explorer is a much more open and lot easier to use!!
I’m using KeePass Touch, and I want to transfer the file (data base) *.kdbx from a previous version. But Files App does not see KeePass Touch in Locations. How do I add third party apps like KeePass to the Location list?
Thanks!
Alex