Let’s face it, in this day and age, most jobs and hobbies require us to sit in front of a MacBook for hours on end. If you’re like me, that text on the screen only gets harder to read with each passing year.
Sure you can increase font size in your office documents or whatever word processor you use, but what about the menu bar or other windows?
Let’s take a look and explore how you can personalize the font size on your MacBook.
There are already some handy settings built into the operating system to increase the system font size.
First, go to system settings. You can access it in two different ways. You can click on it in the dock.
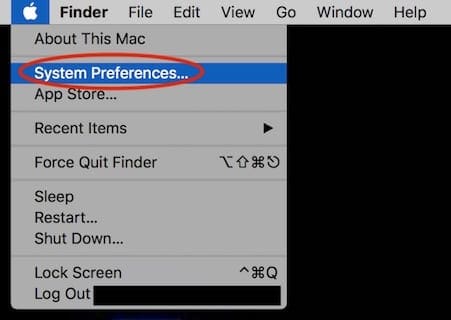
Or you can click on the apple in the top left where the menu bar is and select it in the drop-down menu.
Select System Preferences in the Apple drop-down menu.
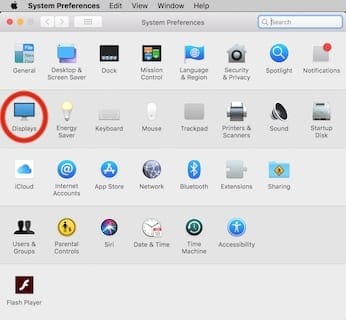
Once you’re in system settings, select the Displays icon to access display options.
Select Displays in System Preferences.
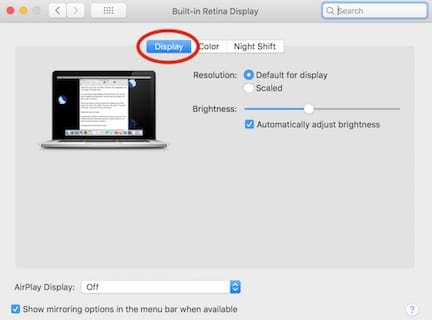
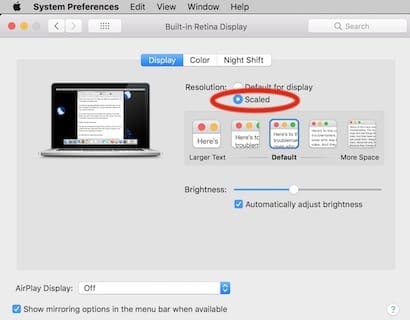
Make sure the Display tab at the top is selected. It’s one of three options, being Display, Color and Night Shift.
Make sure the Display tab is selected.
Below those three tabs, will be two options to select, Default for Display and Scaled. Select Scaled.
Select scaled.
Five options will appear for screen resolution ranging from resolutions of 1024 x 640 up to 1920 x 1200. Now there is a tradeoff depending on what you select.
The larger you make the text, the less screen space you’ll have to work with. That can be a real pain if you keep a lot of items on your desktop, like me.
The smaller the text, the more room you’ll have to work with.
It’s up to you to decide what works best.
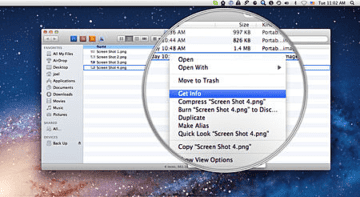
Another option is to click command + j.
This will open a window for adjusting font and icon size for items found on your desktop.
What if you use certain applications that require you to use as much screen space as you can possibly have? What if others require you to read lots of text?
Well, you can simply adjust the screen resolution every time you use that application. Or you can use another trick I have for you.
Use Accessibility options to personalize
If you don’t want to have to adjust your screen resolution every time you want to read some text that’s smaller than you prefer, you can zoom in to where ever the mouse arrow is.
To do this, you have to enable the keyboard shortcuts first.
Go back to System Preferences.
Select System Preferences in the apple drop down menu.
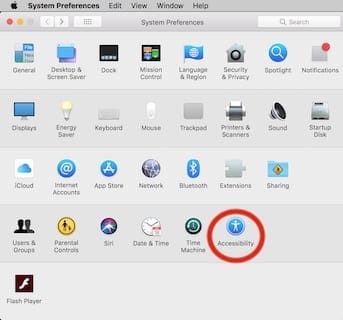
Click on the Accessibility icon.
Click on Accessibility.
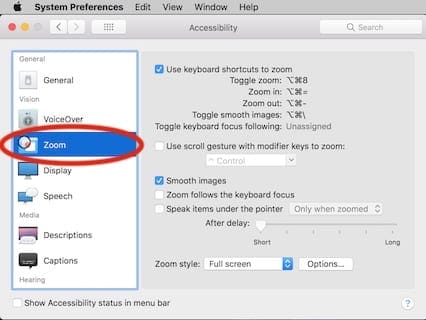
Select the Zoom icon.
Select Zoom on the left.
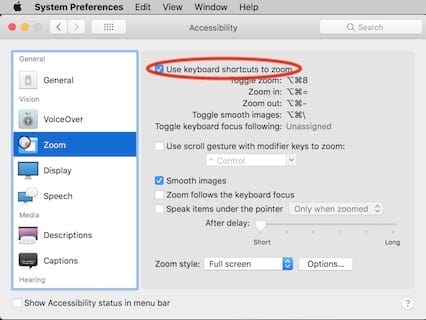
Check the box that says, Use keyboard shortcuts to zoom.
Check the box next to Use keyboard shortcuts to zoom.
Now all you have to do is place the mouse arrow where you want to zoom in, then hold down option + command and the = key to zoom in or the – key to zoom out.
Now you can zoom in and out without having to go to the trouble of changing the screen resolutions back and forth.
TinkerTools
TinkerTools is an app you can use to adjust system and native Mac OS application fonts with more versatility. There are some specific precautions to take before implementing these features. Check here for more specific information.
In conclusion
You can increase the system font size in system settings, but some of the features in accessibility may prove to be handier depending on your usage.
These are just a couple of different solutions to make it easier to read while still navigating your operating system with ease.
Few years back Apple decided to change the scaling to allow for more desktop space on Macbook’s this provides users with more space but at the same time reduces size of fonts. Scaling is pretty good on a Retina screen so if you don’t like the default you can follow the directions in the article. Of course when you do this you also reduce your desktop space so its a trade off. Even with readers my 50 something eyes can’t handle the default setting on my Macbook Air. I know users who still like HD screens on notebooks with a resolution of 1366 x 768 because they like that everything is bigger. Scaling has its issues with screens like the Apple retina’s or any high resolution screen that has to be scaled. Some things can get blurry or fuzzy and you may find certain apps don’t scale properly. There are lot’s of articles on the pitfalls of scaling.
The first two are not good solutions: I don’t want to zoom or scale everything in the screen. I just want a readable font size. Installing TinkerTools can help (I’ve done it before) but it has its drawbacks, and it’s sort of damning that making an Apple actually usable requires you to use software that might well break in the future (and has broken before).