Don’t trust your memory. If something’s rattling around upstairs — a to-do list, a business idea, a new recipe — make a note before you forget it! The Notes app in iOS and iPadOS is perfect for this, but only if it’s working properly.
Despite some of the major improvements Notes has received in recent iOS releases, it still suffers from occasional problems. Maybe the app doesn’t open, maybe it keeps freezing, or maybe your notes don’t sync to other devices. Whatever the problem, we can show you how to fix it.
Keep reading to learn about the most common issues for the Notes app not working in iOS 17 or iPadOS 17, and what you can do to fix these problems.
Which Issues Have Users Encountered With Apple Notes After Downloading iOS 17 or iPadOS 17?
Users have encountered several issues with the Notes app since downloading iOS 17 or iPadOS 17. Here are some of the most common ones:
Unable to unlock notes: Some users have pointed out that they cannot unlock their notes after upgrading their iPhone or iPad software. As a result, they cannot share these notes with other users if they later decide that they want to.
Slow performance: One commonly-reported issue relates to Apple Notes functioning with lag, especially when using larger notes. Meanwhile, other users have complained about the app continuously freezing and crashing when they try to use it. Another reported problem relates to the scroll bar jumping when trying to navigate through the note.
Problems seeing notes: Some users have complained that when they type in Apple Notes, the app now goes blank. Meanwhile, others have reported their notes getting deleted. Another issue relates to the search function not working with longer notes, making it more difficult for people to find the information they’re looking for.
Autosuggest problems: One common teething problem with iOS 17 was the autosuggest feature not working properly. Users were unhappy with the suggestions this was providing.
Useful Note: Users who have a lot of Notes often use the Search box to search for a missing Note in the app. Make sure you are using the right search. Sometimes, this feature does not work for a partial search or spelling mistake. If it was something that you were working on most recently, try using Siri for the search and see if it shows up in the search.
If You Haven’t Already: Update to the Latest Version of iOS 17
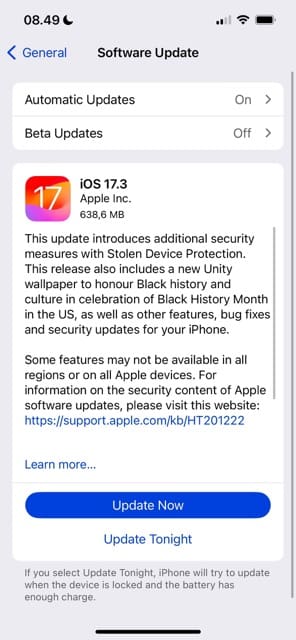
Many users reported these issues with Apple Notes in the earlier versions of iOS 17 and iPadOS 17. Now, however, you can potentially mitigate these issues by downloading the latest software for your app. As of January 2024, the latest edition of iOS/iPadOS 17 is 17.3.
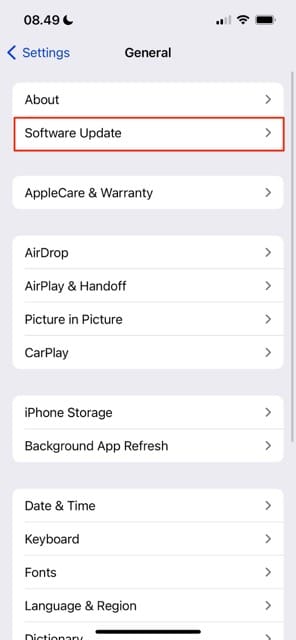
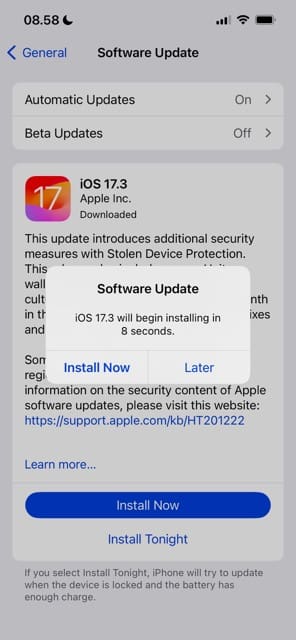
To update to a newer version of iOS 17, go to Settings > General > Software Update. Then, select Install Now and follow the remaining instructions on your device screen. Your iPhone or iPad will restart a few times when you download the software.
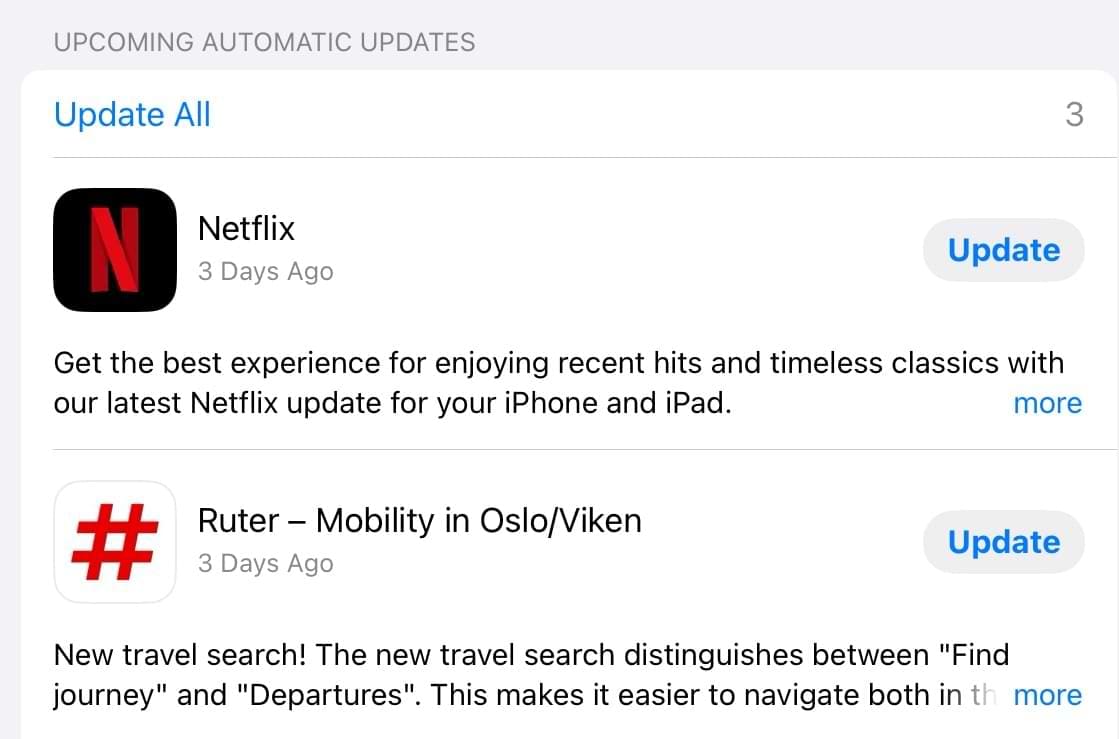
You should also update every app on your device, as out-of-date apps might interfere with Notes. You can do this from the Accounts section of the App Store.
How to update apps on an iPhone, iPad, or iPod touch:
Use Wi-Fi to connect your device to the Internet.
Open the App Store and go to your profile picture.
Scroll down to your app updates and select Update All.
General Tips for Fixing Notes Issues in iOS 17 and iPadOS 17
If you’ve downloaded the latest version of iOS 17 or iPadOS 17, and you’re still experiencing issues with the Notes app, try these steps to solve your problems.
1. Close the Notes App
The first thing to do, if you haven’t tried it already, is to close the Notes app and then re-open it again. This is particularly useful if Notes has frozen.
After closing the app, make sure you return to the Home screen on your device before re-opening it. Otherwise iPadOS or iOS 13 won’t close Notes properly, and it still might not work.
How to close Notes on your device
On devices with Face ID: Slide up from the bottom and pause in the middle of the screen to view the App Switcher.
On devices without Face ID: Double-click the Home button to view the App Switcher.
Push Notes off the top of the screen to close it.
Return to the Home screen and tap Notes to open the app again.
2. Close Every App and Restart Your Device
There’s always the possibility of a seemingly unrelated app or process on your device causing problems with Notes. The best way to fix any app that isn’t working — including Notes — is to close everything and restart your device.
After closing every app on your device, power it down for at least 30 seconds.
How to close every app and restart your device:
On devices with Face ID: Slide up from the bottom and pause in the middle of the screen to view the App Switcher.
On devices without Face ID: Double-click the Home button to view the App Switcher.
Push each app off the top of the screen to close it.
Return to the Home screen.
Press and hold the Side or Top button with either Volume button.
When prompted, slide to power off.
Wait at least 30 seconds before pressing the Side or Top button to restart your device.
You can power off older devices with just the Side or Top button.
If iCloud is online but Notes still isn’t working, try temporarily turning off iCloud sync for Notes on your iPhone, iPad, or iPod touch. You shouldn’t lose any data doing this, although your notes may disappear from the device until it syncs with iCloud again.
How to disable iCloud sync for Notes on an iPhone, iPad, or iPad touch:
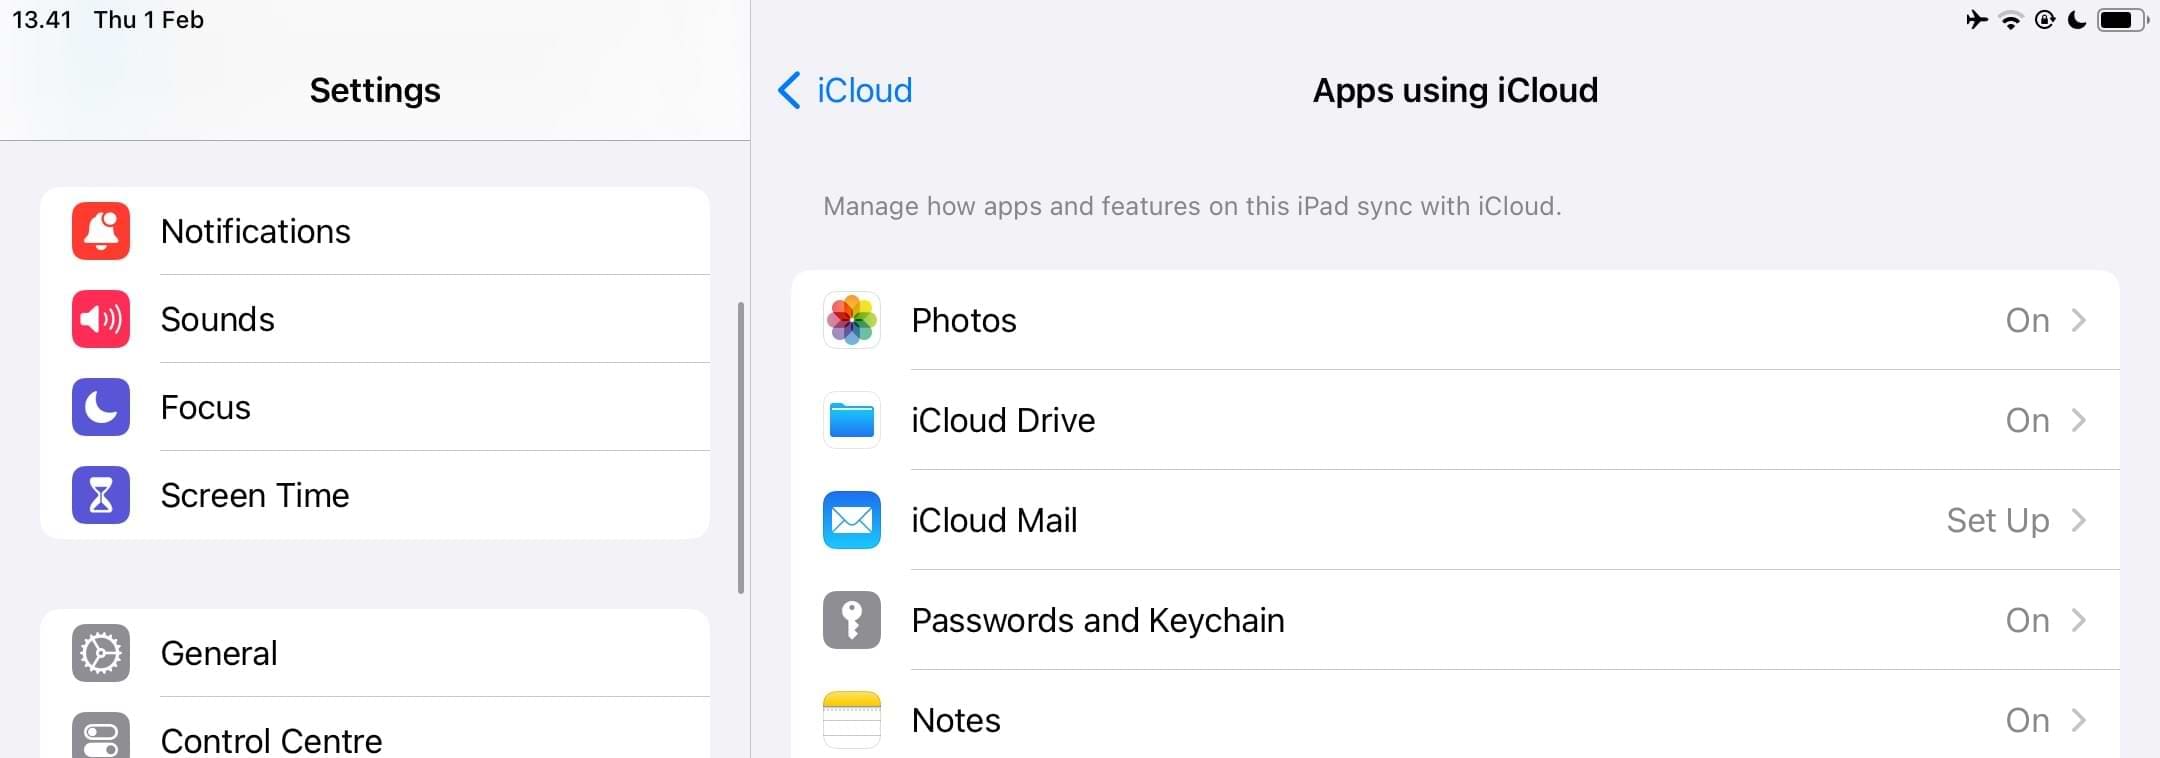
Go to Settings > [Your Name] > iCloud.
Go to Apps Using iCloud and press Show All if you can’t see Apple Notes.
Select Notes when you see the app.
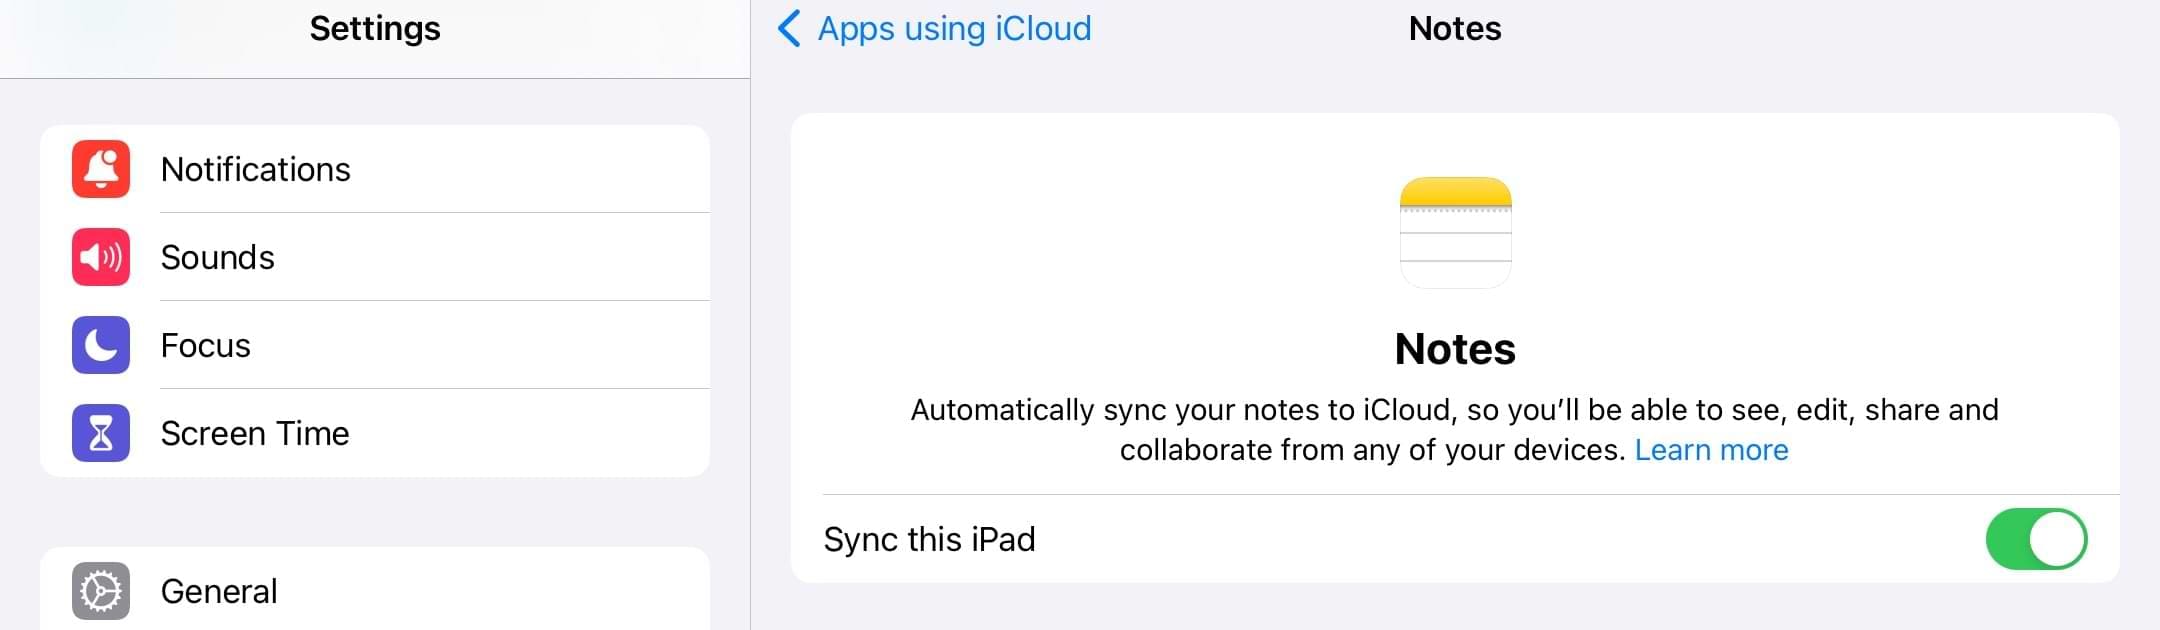
Toggle Sync This iPad/Sync This iPhone off.
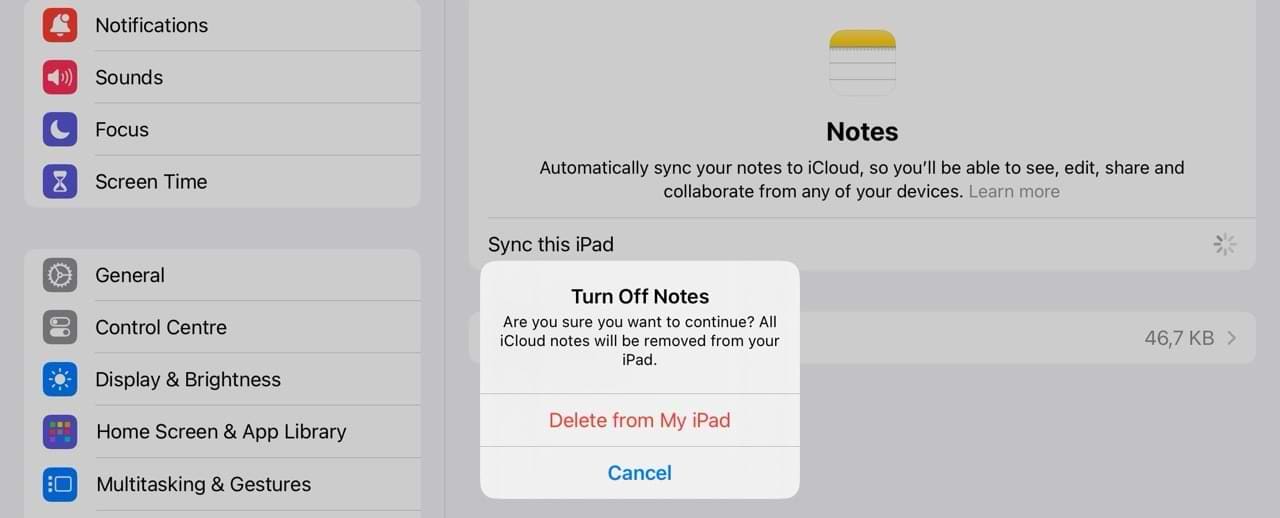
If prompted, select Delete From My iPhone/iPad.
Open Notes and wait at least two minutes.
Go back to Settings > [Your Name] > iCloud.
Toggle Sync This iPad/Sync This iPhone back on for Apple Notes.
4. Delete and Re-Install the Notes App
Ever since iOS 12, users have had the ability to delete many of Apple’s built-in apps, including Notes. By deleting and then re-installing Notes on your iPhone, iPad, or iPod touch you can overwrite corruptions in the app that may stop it from working properly.
How to delete Notes on an iPhone, iPad, or iPod touch:
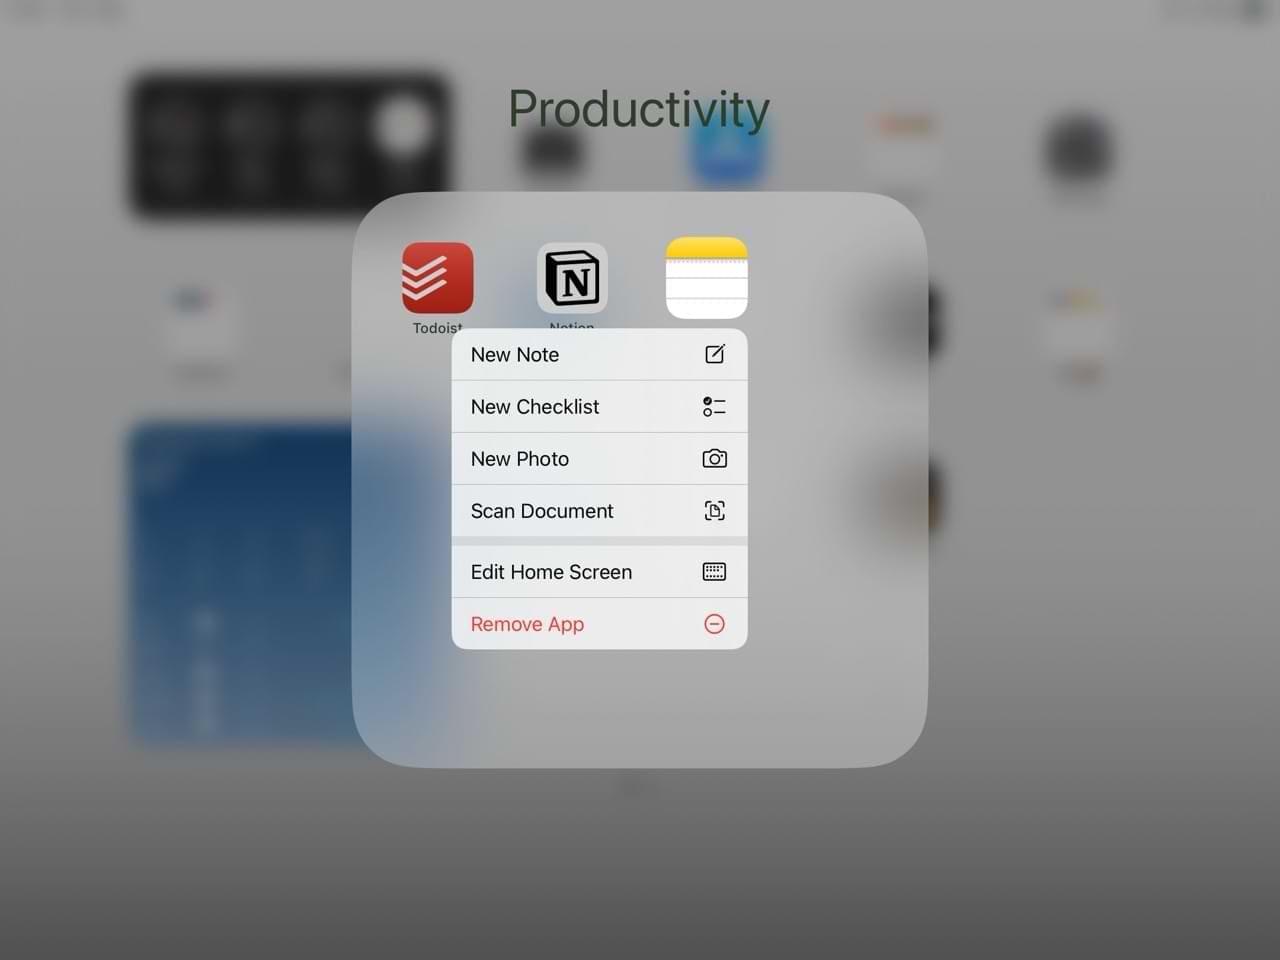
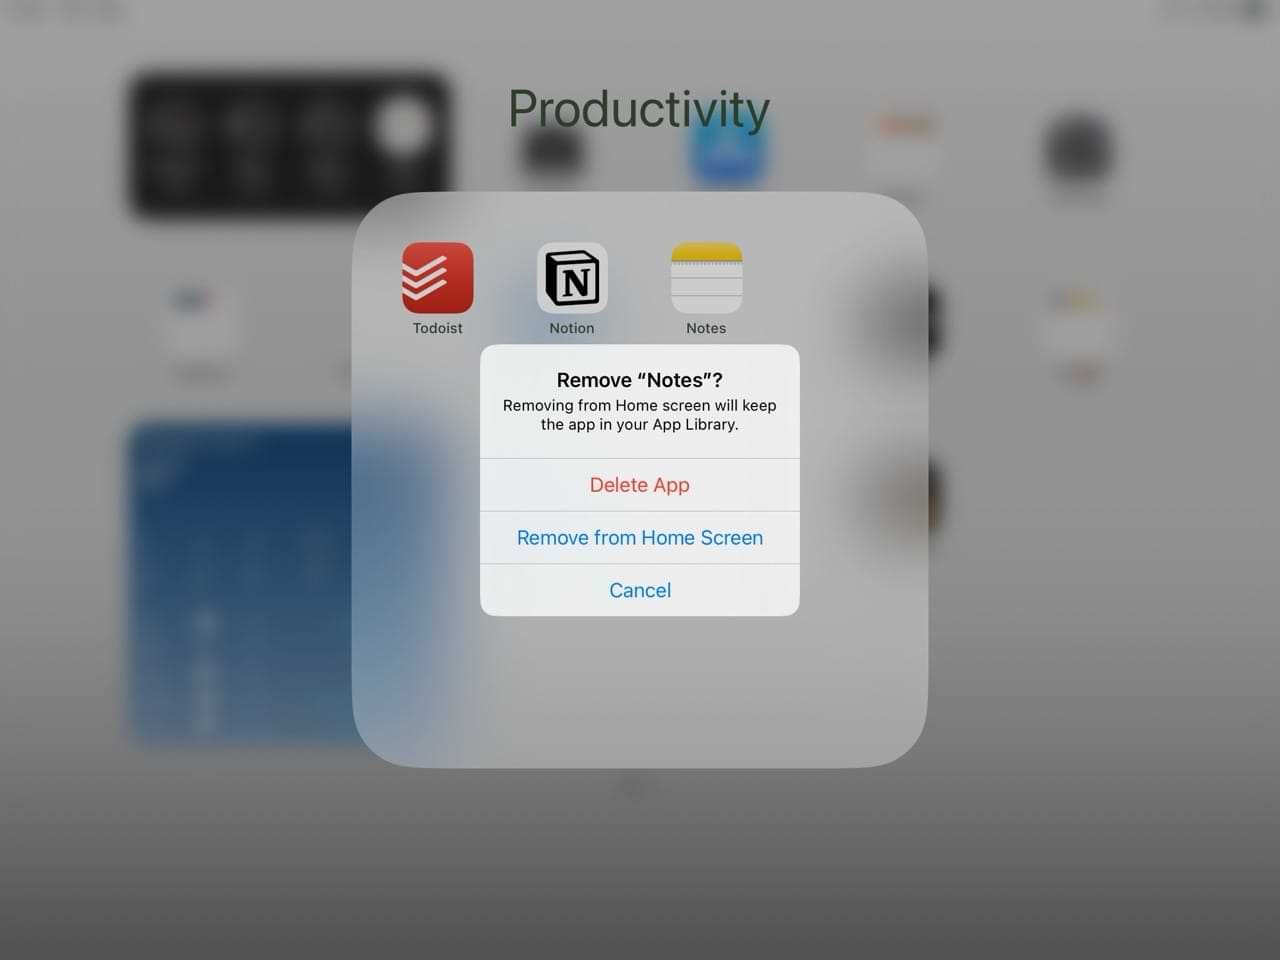
Tap and hold on to the Notes app icon.
Select Remove App when the dropdown menu appears.
Tap Delete App.
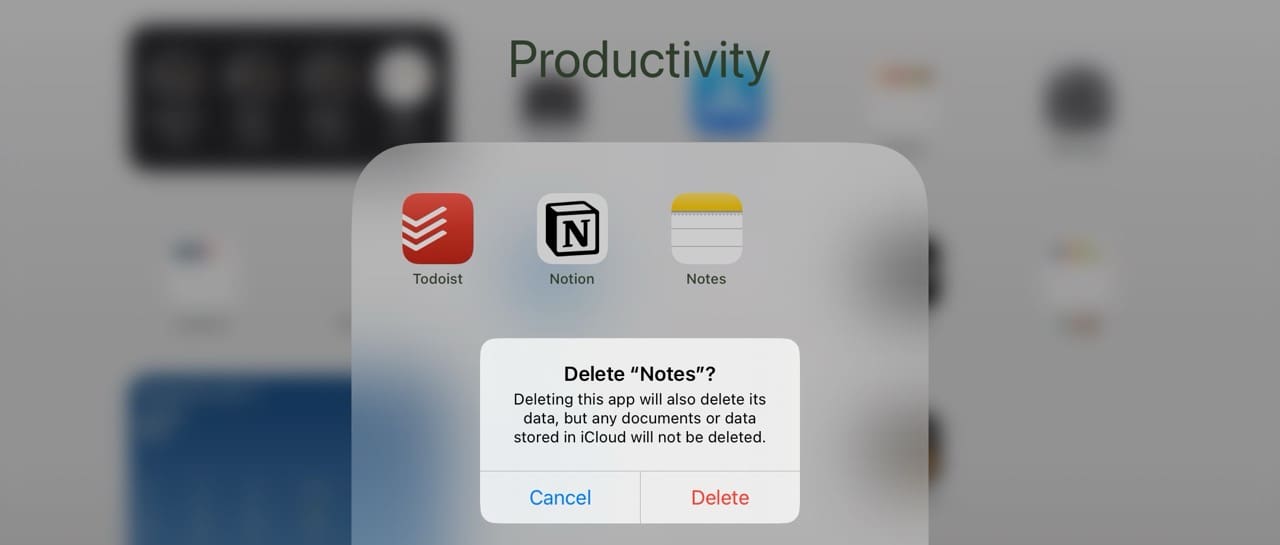
Press Delete when the second pop-up window shows up.
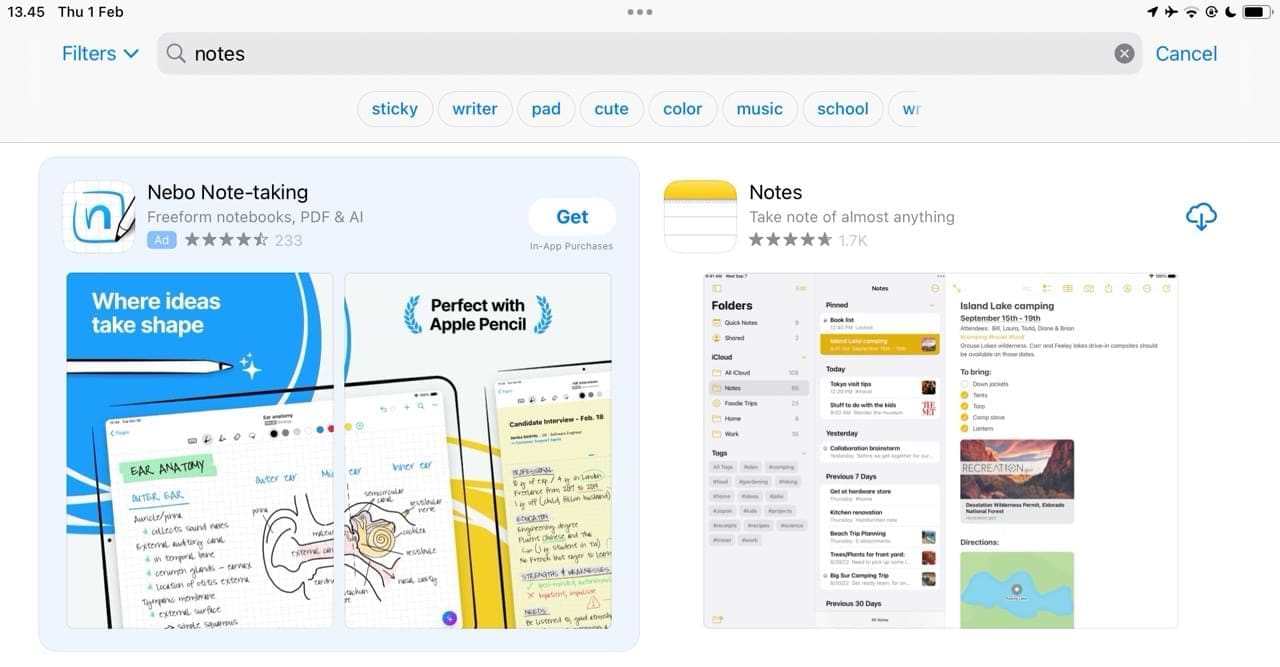
Go to the App Store and search for Notes.
Press the cloud and arrow icon next to Apple Notes to re-download the app.
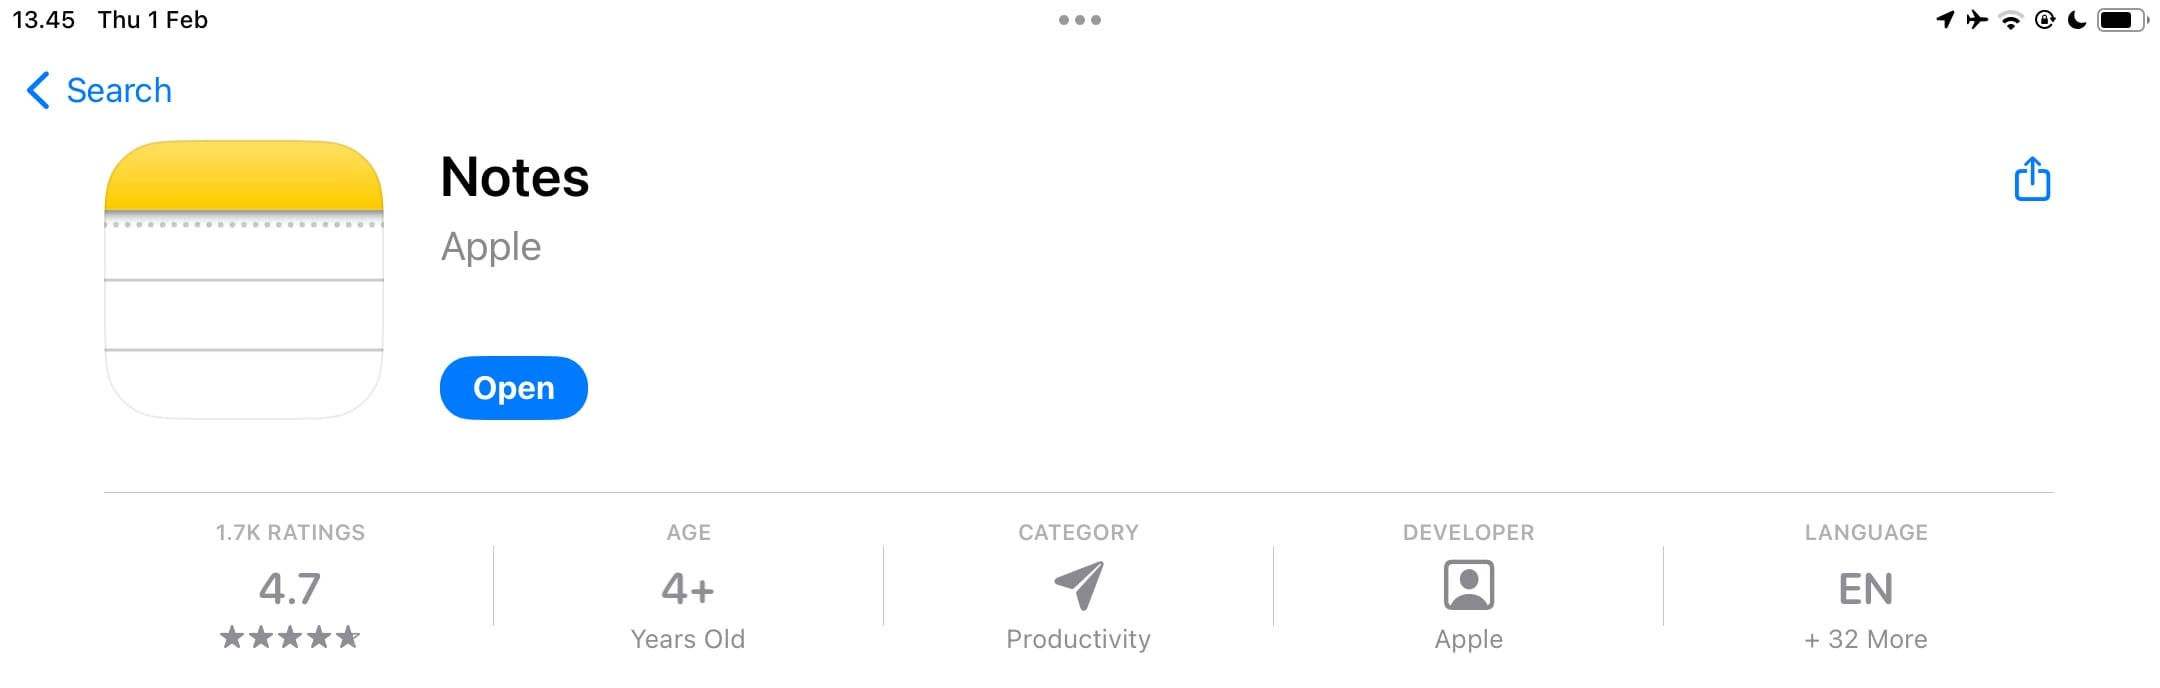
Wait for Notes to download. Then, tap Open and check to see if your previous issues with the app have now been solved.
5. Check the Settings for Individual Notes
It might be the settings for individual notes that are causing your problem. Take a look at each section below to ensure your Notes issues aren’t actually a “feature” you turned on.
Pinned Notes Remain at the Top
By default, the Notes app arranges notes by the date they were last edited, with most recent at the top. That all changes when one of your Notes is pinned, which keeps it at the top of the list permanently. You will see your most recent unpinned notes beneath these, so you should keep that in mind if you can’t see a particular note.
Pinned notes are separated from regular notes by a thin divider and marked by a pin icon. Pin or unpin your notes by sliding them to the right and tapping the pin button.
It’s also worth tapping the arrow icon next to Pinned if you want to hide your pinned notes.
Locked Notes Require a Password to Open
Private and confidential notes can be password-protected, to keep out prying eyes. This is great for personal details or secret lists. To open a locked note, you need to enter the password created when it was locked.
The Notes app marks locked notes with a padlock icon. You can lock or unlock a note by sliding to the left and tapping the Lock button. You need to know the correct password to unlock a note.
Collaboration Lets Other People View or Edit Notes
The collaboration feature in Notes lets you decide if other users can edit your notes or if they’re only allowed to view them.
To change the collaborative settings for a particular note, open it and tap the person icon in the top right. Open the share options and choose between ‘Can make changes’ or ‘View only’ permissions. Or remove collaborators entirely!
6. Reset or Restore Your iPhone or iPad
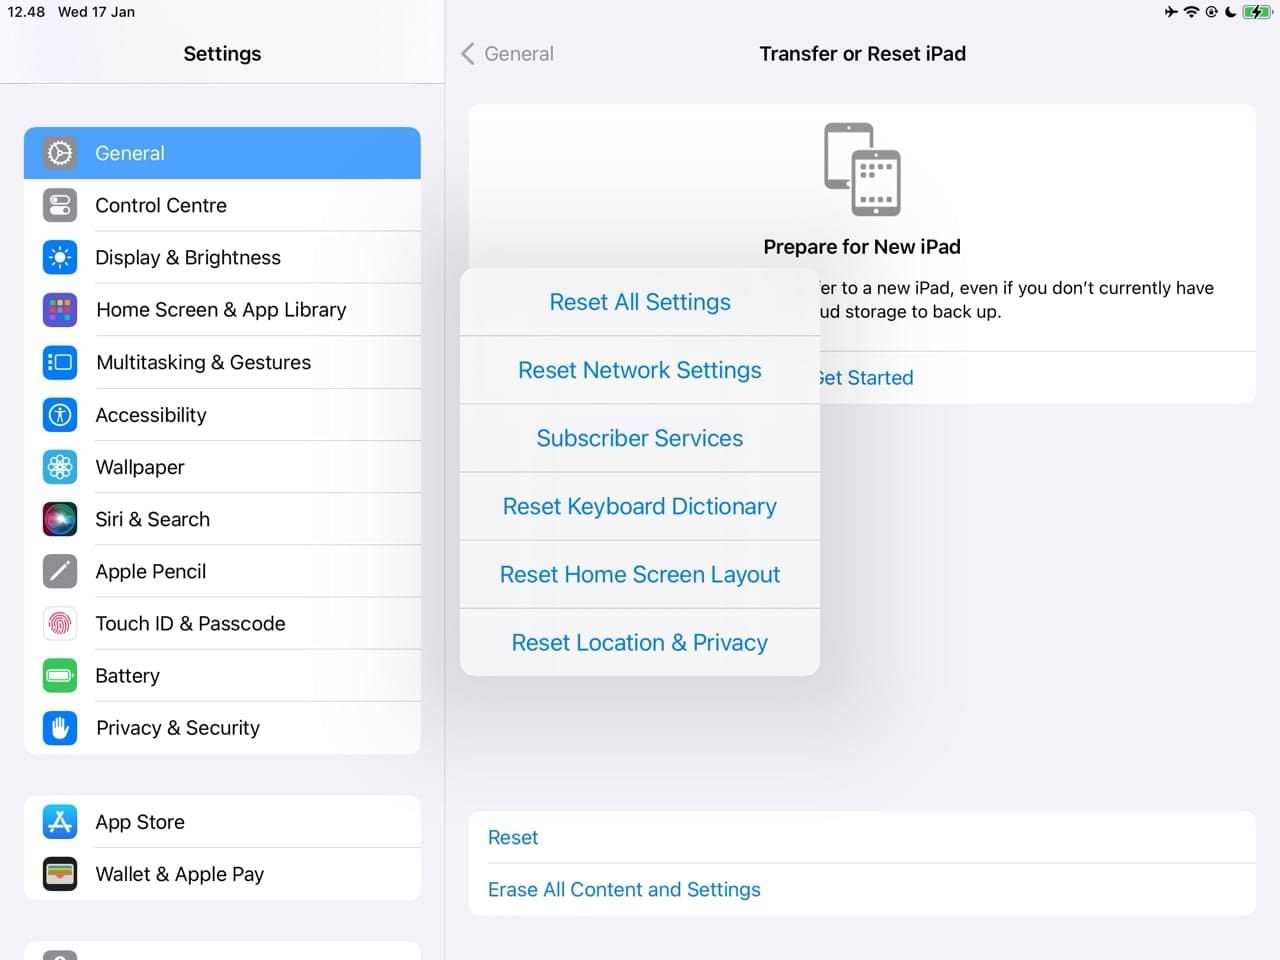
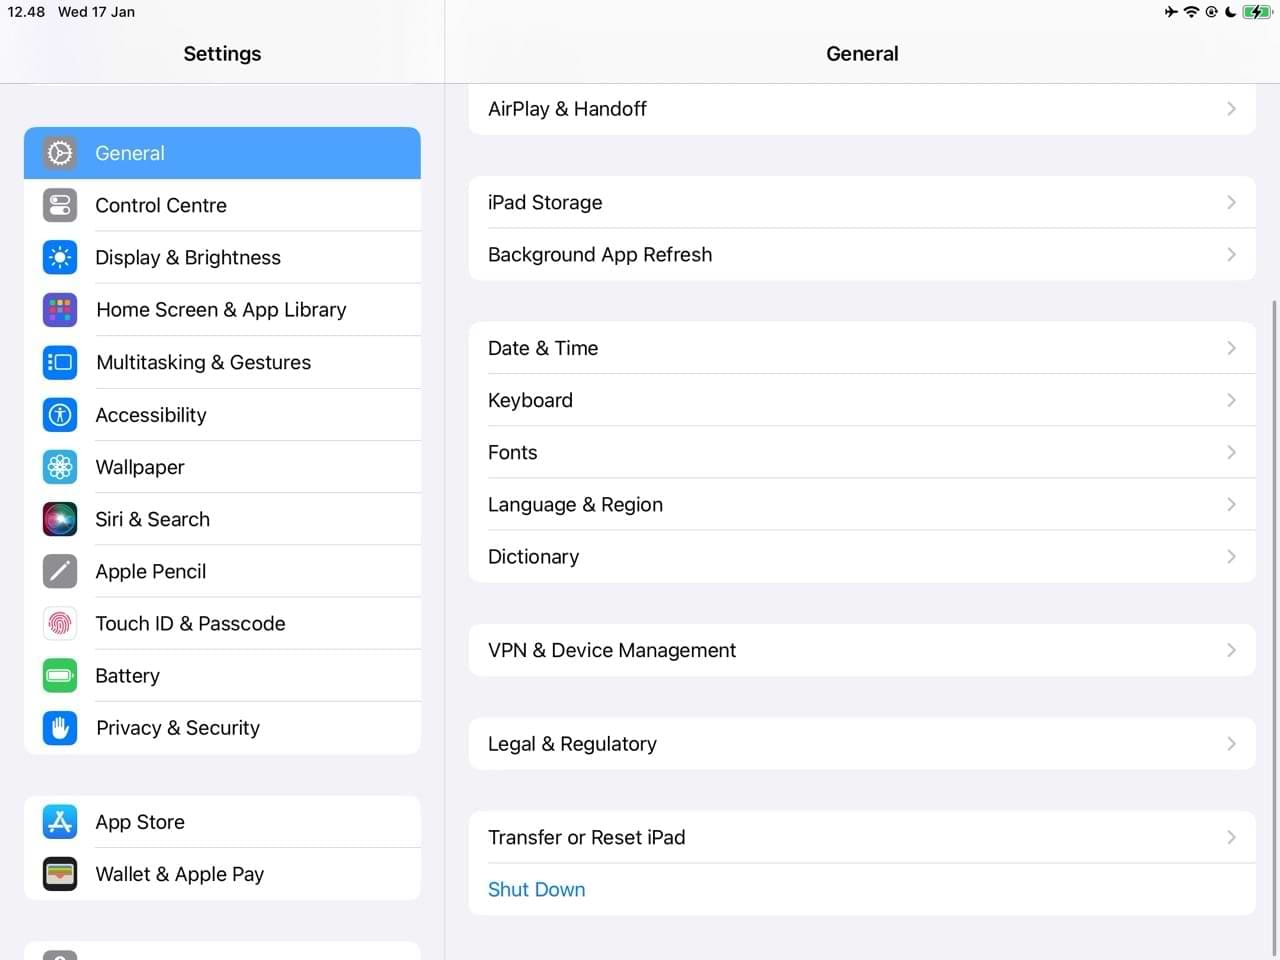
If Notes is still not working, it’s possibly due to a problem with the operating software on your iPhone, iPad, or iPod touch. The first step is to use ‘Reset all Settings‘ from Settings > General > Transfer or Reset iPhone/iPad and see if that solves your issue.
If the simple reset couldn’t help you with your iOS 17 or iPadOS 17 issues, You may have to restore your device to factory settings.
Restoring your device to factory settings deletes everything Before trying either of these solutions, you MUST make a backup of your device. Go to Settings > [Your Name] > iCloud and select iCloud Backup. Then, tap Back Up Now.
To reset your iPhone or iPad to factory settings:
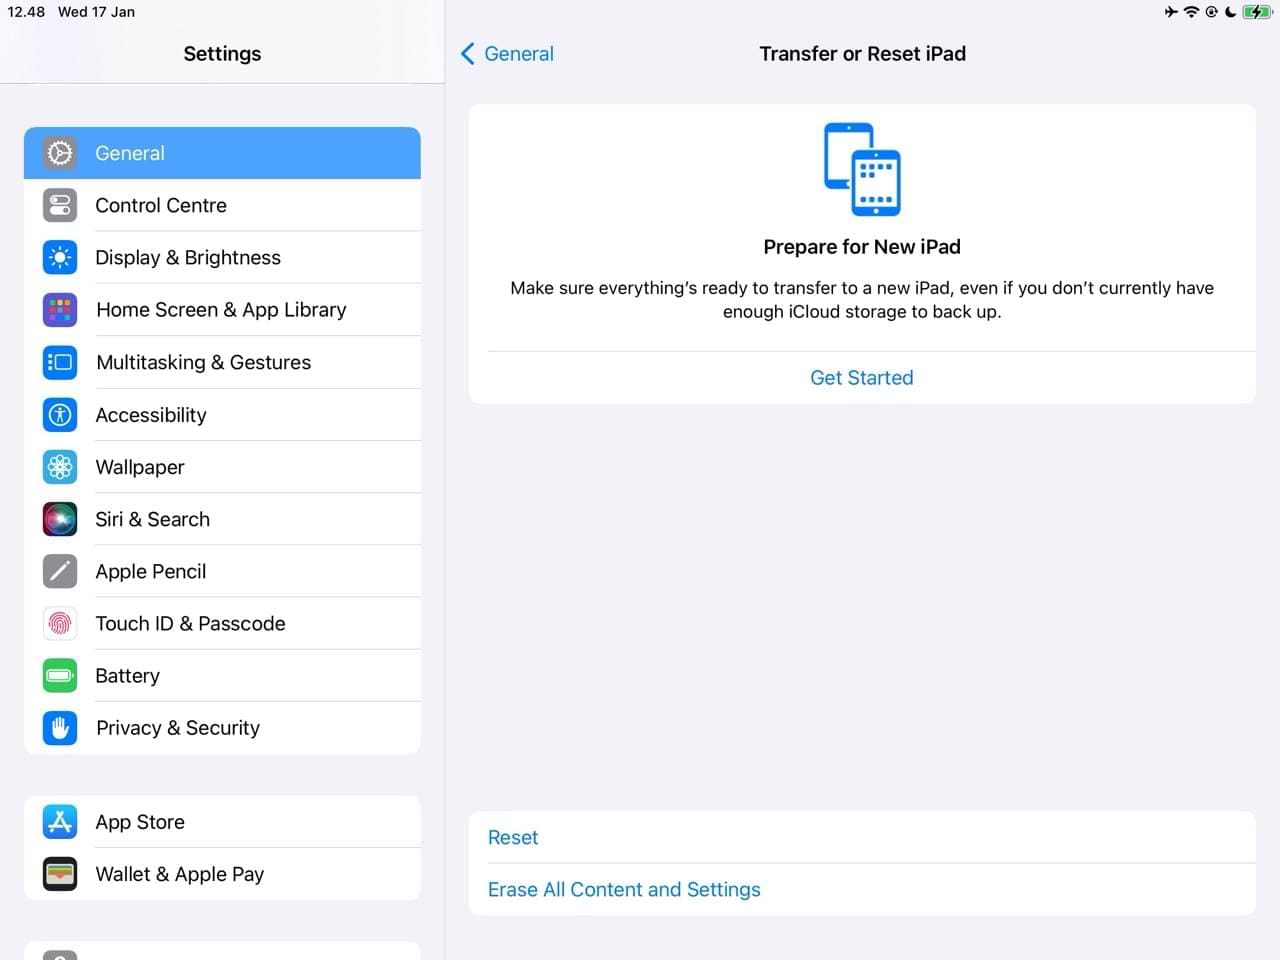
Go to Settings > General > Transfer or Reset iPhone/iPad.
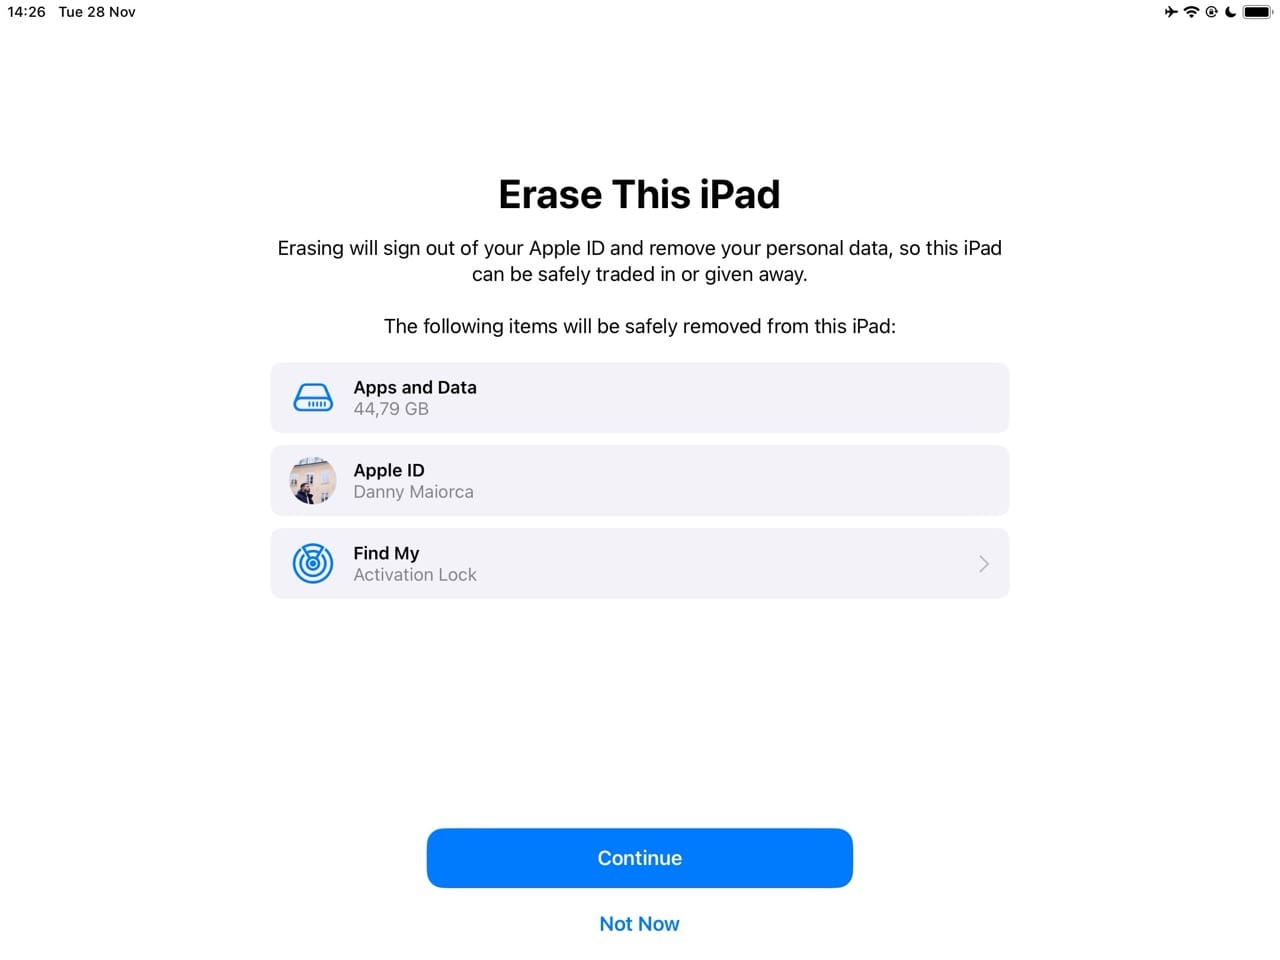
Select Erase Content and Settings.
Follow the remaining instructions on your screen to complete the restart.
After restoring your iPhone or iPad to factory settings, you can set up your device and download everything from iCloud. Try Notes and see if the problems are fixed, which they should be.
7. Contact Apple Support for more help
At this point, you’ve done almost everything that’s possible to do by yourself. If Notes is still not working on your iPhone, iPad, or iPod touch it’s time to speak to Apple directly.
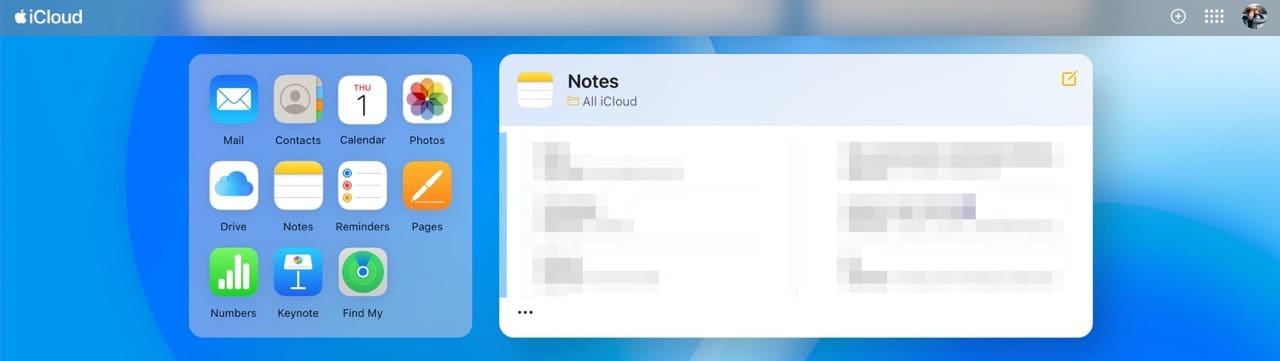
First and Foremost, log into youricloud.com account and check if all your notes are there.
In icloud.com when you go to Notes, check the Recently Deleted folder to make sure there are no deleted notes here.
If they are all there, it is most probably a timing issue and you will have to wait for iCloud sync to complete.
Check your Apple ID / iCloud Account on your devices
Restart your iPhone or iPad and check if you are using the right Apple ID.
Check if you are using the same account on your Mac (if your Notes are not syncing with your Mac).
Check and verify that iCloud is enabled for Notes on your Apple Account in iOS 17.
If you also use your MacBook for Notes, Click on Settings under the Notes Menu and make sure that you do not have Enable the On My Mac Account clicked, which would localize your notes to your MacBook.
How to recover lost or deleted Notes using your Mac
If you have tried all the above and still are unable to find your old Notes, there is one are that you can check provided you use your MacBook for Notes (with Notes synced to iCloud).
This option is more of a workaround for recovering lost notes and is not pretty.
Open your Finder App and click on Go at the top and then Go To.
Right Click on the .storedata file from the folder and choose open with ‘Text Edit’.
Here you will find your notes but it is mixed in with other stuff.
Since you notes will be in large block of text, you can search and then copy your note content into a word doc.
Like we said, this is not the prettiest workaround but it might be helpful if you are looking for a particular file or an important piece of content.
Display Issues when Typing in Notes? Here Are Some Tips
Some users have reported that when they are typing in notes, they cannot see anything on the display. Keyboard types without giving errors but cant follow your typing on the display of your device. Similar issues have been reported with some other third party Notes apps such as Fantastical.
If you are having this issue, here are a few tips that should solve it.
Tap on Settings > Display and Brightness and adjust your brightness.
Switch off Automatic for Light/Dark mode.
Toggle back and forth between Light and Dark mode and check if the Notes Display works.
Tap on Settings > Accessibility > Display & Text Size if that didn’t work.
Notes App Not Working Properly in iOS 17 or iPadOS 17? Try These Tips
Apple Notes continues to be one of the best apps for keeping track of your thoughts, but many users have unfortunately experienced significant issues using it properly in iOS 17 or iPadOS 17. Some people have complained about lagging issues when they try to type long notes, whereas others have reported problems with using the search function.
You can try multiple fixes to solve the most common problems associated with iOS 17 or iPadOS 17. Try restarting your device, closing the app, and updating your software. If you’re still having issues, contacting Apple Support is a good idea. And if you’ve identified new problems that have arisen, let us know in the comments and we’ll do our best to fix these.
Danny has been a professional writer since graduating from university in 2016, but he’s been writing online for over a decade. He has been intrigued by Apple products ever since getting an iPod Shuffle in 2008 and particularly enjoys writing about iPhones and iPads. Danny prides himself on making complex topics easy to understand. In his spare time, he’s a keen photographer.
After an update (IOS 13?), I can’t select text to edit Notes. I tried different pressure when selecting, but as soon as I put my finger on a word, the cursor jumps up two or three lines making impossible to select. I did delete the app and reinstalled, to no avail. Thanks in advance for any suggestions.
Hi,
I have complained many times to Apple Support about the Notes search function on my iPhone 7 not working. I stopped working correctly after an update sometime after 10.1 Either it doesn’t find the word at all (and I know that it is there) or it shows the word but then doesn’t go to it.
Thank you,
KM