For as incredible as the Mac is, with all of the improvements that Apple continues to make to the platform, there are times where something happens and you are forced to start from scratch. Whether you’ve installed the latest macOS Developer Beta, or you accidentally deleted a critical system file, accidents happen. But it’s important to know that you didn’t just destroy your Mac and that you can get things back in working order with relative ease.
Before you go through the steps to actually boot Mac from external USB drive, you’ll need to first create a bootable USB drive. This might be easier said than done, depending on the current state of the macOS software on your computer. However, if you just need to start from scratch, or downgrade from the current macOS Ventura Developer Beta to macOS Monterey, a bootable installer is necessary.
Before getting started, in addition to performing the backup on your Mac, you’ll need to follow these requirements:
The USB drive must have at least 16GB of storage available.
This drive must also be properly formatted for macOS.
Specifically when it comes to the formatting of the drive you are planning to use, it’s important that the drive is formatted for macOS. Otherwise, you might run into problems when going through the necessary steps to downgrade from macOS Ventura to macOS Monterey. With that in mind and your USB drive ready to go, here’s how to create a bootable installer:
Download the macOS Monterey installer from Apple’s official support website.
After the download has completed, the macOS Monterey installer will automatically launch.
Once the window appears, press CMD + Q on your keyboard to quit the installer.
Open Finder on the Mac.
Navigate to your Applications folder.
Locate the Install macOS Monterey “app”.
In the event that this is not located in the Applications folder, locate the app and move it to the Applications folder.
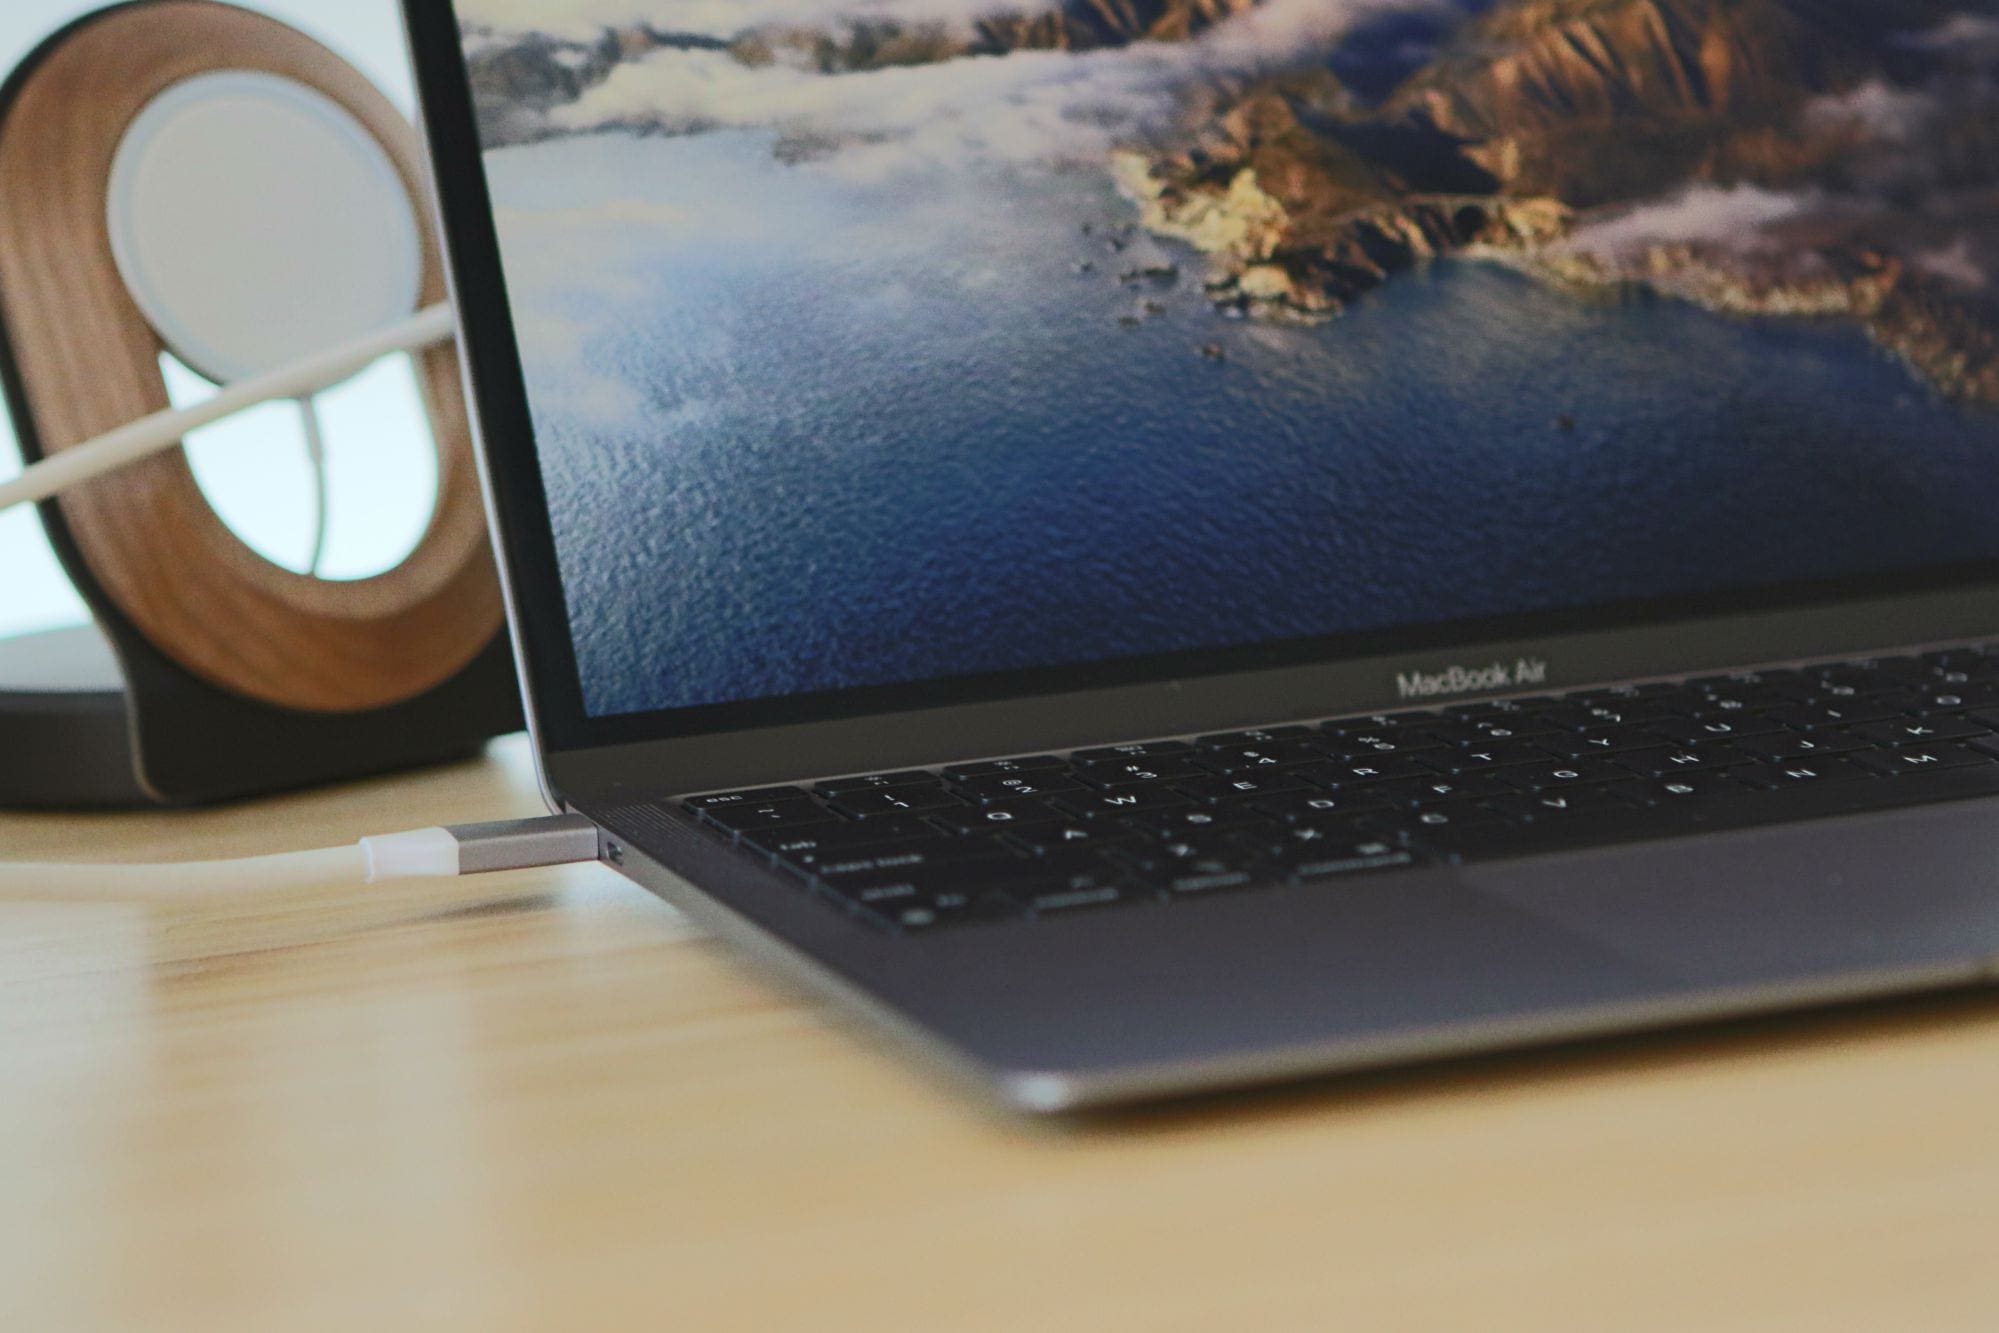
Plug in your external USB drive.
Open the Disk Utility app on your Mac.
Select the name of your external USB drive from the sidebar of Disk Utility under the External section.
In the toolbar at the top, click the Erase button.
Enter a name for the boot drive.
Under Scheme, select GUID Partition Map.
Under Format, select Mac OS Extended (Journaled).
Click the Erase button and wait for the drive to be erased.
Now that you have downloaded the macOS Monterey installer and properly formatted the removable USB drive, there are just a few steps left in order to create the boot installer. Before proceeding, make sure that the USB drive is still connected to your Mac.
Open the Terminal app on your Mac.
Enter the following command into the Terminal window:
(In this instance, MyVolume is the name that you used when you formatted the external USB drive in Disk Utility)
Press Enter on your keyboard.
When prompted, enter the admin password for your Mac and press enter.
Don’t be alarmed if you don’t see your password characters. Terminal does not display them, but they are being entered.
When prompted press Y and then Enter on your keyboard to confirm that you want to erase the “volume”.
Press OK to enable the copying of the installer to the USB drive.
Once complete, Terminal will show the same information that it did when you first launched the app. Additionally, the name of the external USB drive will now be named macOS Monterey Installer. From here, quit the Terminal app on your Mac, and safely eject the removable USB drive.
How to boot Mac From External USB Drive
Allow Intel Mac To Boot From External USB Drive
With the bootable installer created, it’s almost time for you to begin the process of steps needed to boot Mac from external USB drive. However, if you own an Intel-powered Mac, you’ll first need to make sure your Mac allows you to boot from an external USB drive. And here’s how to do so:
Click the Apple logo in the top left of the Menu Bar.
Select Restart… from the drop-down menu.
When the restart process begins, press and hold the Option key until you see Boot Options.
As soon as the Boot Options appear, press and hold CMD + R on your Keyboard.
In the menu bar, click Utilities.
From the drop-down menu, select Startup Security Utility.
Under Allowed Boot Media, click the box next to Allow booting from external media or removable media.
Turn your Mac off again.
Boot Intel Mac From External USB Drive
After you’ve successfully enabled the ability to boot from an external drive, you can now actually go through the steps on your Intel or Apple Silicon-based Mac. Here’s how you can boot Mac from external USB drive that is powered by an Intel processor:
Insert the bootable installer you previously created.
Power on your Mac.
As soon as you press the Power button, press and hold down the Option key.
When you reach the Boot Selection screen, select the option to Boot from Installer.
Follow the on-screen steps.
Provided that you’re installing a previous version of macOS, the on-screen steps will guide you through the entire process. And the nice thing about having the installation software on a physical USB drive is that you don’t have to worry about super-long wait times as the version of macOS is being downloaded using your network connection.
Boot Apple Silicon Mac From External USB Drive
There are a lot of benefits to owning and using a Mac powered by Apple Silicon. But for the sake of this tutorial, the benefit here is that you don’t have to jump through any extra steps just in order to boot from an external USB drive. Here’s how you can do so:
Shut down your Mac.
Insert the bootable installer drive that you previously created.
Once your Mac is completely turned off, press and hold the Power button.
When the Startup Options appear, let go of the Power button.
Select USB Installer from the Startup Options.
Click the Continue button.
Follow the on-screen instructions.
Just like with performing these same steps from an Intel-based Mac, having the software on your physical external hard drive should cut down significant time on the whole process. Because the installation software is available via the connected USB drive, the necessary files will just be transferred to your Mac, allowing you to proceed with the installation.
Andrew Myrick is a freelance writer based on the East Coast of the US. He enjoys everything to do with technology, including tablets, smartphones, and everything in between. Perhaps his favorite past-time is having a never-ending supply of different keyboards and gaming handhelds that end up collecting more dust than the consoles that are being emulated.
I switched over to start up on an external 1 terabyte ssd some months ago on my 2014 imac. It’s been great, however I some how set it up such that all of my storage is on the external drive which has now reached capacity. How would you recommend that I reorganize my disks such that the start up remains on the external, but the other storage can return to the internal hd? Is there a way to untangle this mess that a novice can handle?


")


I switched over to start up on an external 1 terabyte ssd some months ago on my 2014 imac. It’s been great, however I some how set it up such that all of my storage is on the external drive which has now reached capacity. How would you recommend that I reorganize my disks such that the start up remains on the external, but the other storage can return to the internal hd? Is there a way to untangle this mess that a novice can handle?