A password manager lets you create unique and complex passwords for each of your accounts, without ever needing to worry about remembering all of them. All you ever need to remember is your master password.
If you’re an Apple user, here are all the best password managers that sync your passwords across iPhone, iPad, and Mac.
If you own any Apple products, you already have access to at least one password manager: iCloud Keychain.
This is Apple’s first-party password manager. It syncs your usernames, passwords, credit card information, and Wi-Fi passwords across all your Apple devices using iCloud.
iCloud Keychain is built-in with every Apple product.
The main downside to iCloud Keychain is that it’s only available on Apple devices and it only works with Safari.
You can’t use iCloud Keychain on Windows or Android devices. And you can’t use it in Google Chrome or any other browsers even if you’re on an Apple device.
An added downside to iCloud Keychain is the lack of organization options it gives you when it comes to managing your passwords. Keychain presents your data in a long list, with no categorization or folders.
Keychain is also buried in your system settings, which makes it slow for copy-ing and pasting passwords. Granted, you only need to do this when auto-fill doesn’t work, which doesn’t happen very often.
Still, iCloud Keychain is the only completely free password manager on this list. And it’s already built into every Apple device, so you may have started using it already.
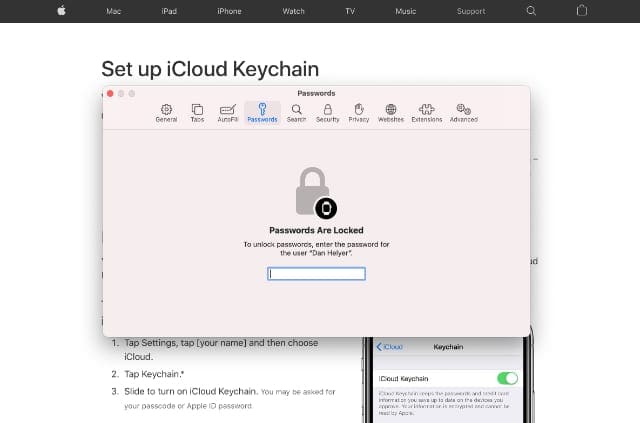
How to Set Up iCloud Keychain
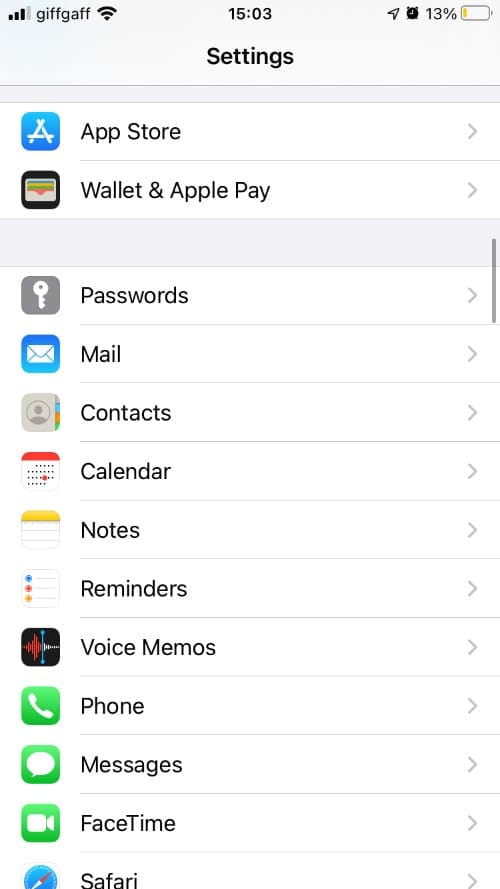
To enable iCloud Keychain on an iPhone or iPad:
Open Settings and tap [Your Name] at the top of the screen.
Go to iCloud > Keychain and enable iCloud Keychain.
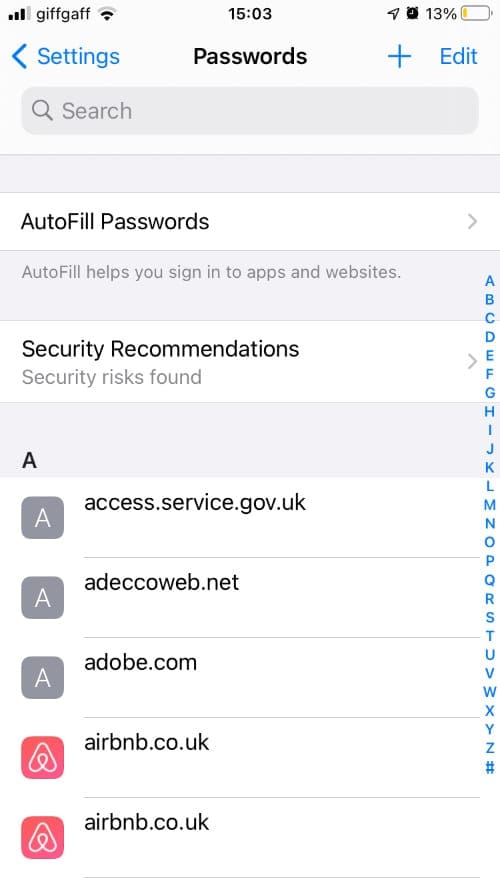
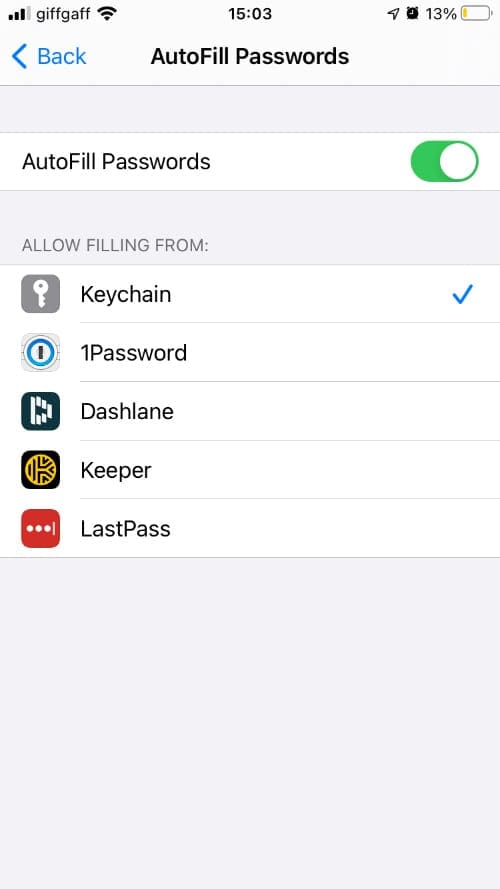
Then go to Settings > Passwords > AutoFill Passwords to allow Keychain to auto-fill your usernames, passwords, and other data.
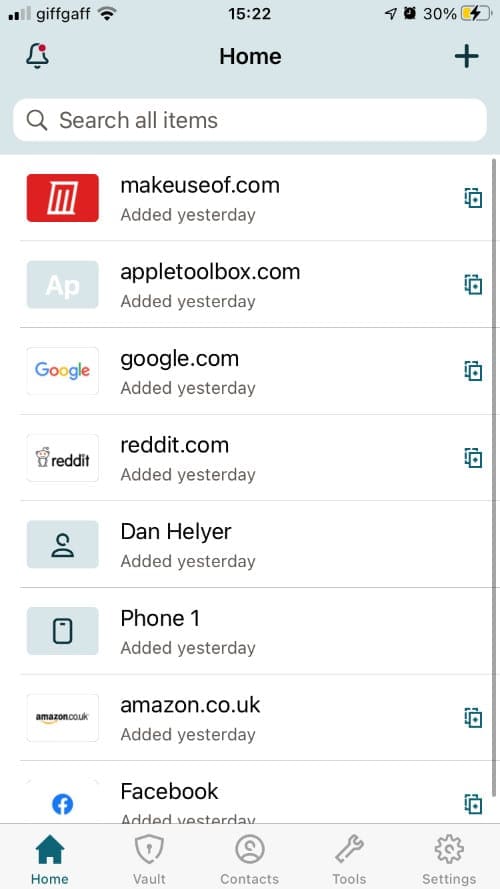
Keychain automatically suggests usernames and passwords when you need them. But you can also view your passwords by going to Settings > Passwords.
Open the Passwords settings.
Go to the AutoFill settings.
Enable Keychain.
To enable iCloud Keychain on a Mac:
Open the Apple menu and load the System Preferences.
Click Apple ID, then select iCloud in the sidebar and enable Keychain.
Now open Safari and go to Safari > Preferences > AutoFill to allow Keychain to auto-fill your usernames, passwords, and other data.
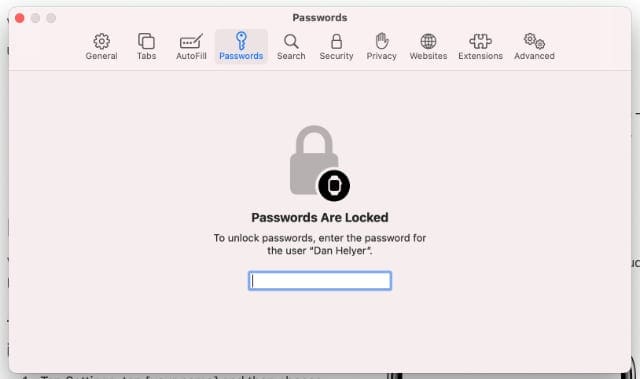
To view your passwords, go to Safari > Preferences > Passwords or open the Keychain Access app.
Open the Safari Preferences to view your passwords.
As you sign in to accounts on your Apple devices, iCloud Keychain asks if you want to save, update, or auto-fill your username and password.
Any data you save is end-to-end encrypted behind your device’s passcode or login password. Someone would need to know your Apple ID password or your passcode to access this data.
For added convenience and speed, you can also access your iCloud Keychain data using Face ID and Touch ID.
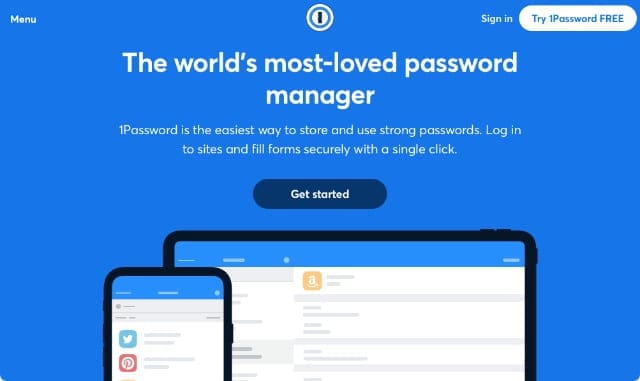
One of the most popular third-party password managers for Apple products is 1Password. This sleek password manager was originally only available on Apple products, but has since expanded to cover Android, Windows, and every major Internet browser as well.
This makes it a far better alternative to iCloud Keychain if you ever find yourself using non-Apple products or if you prefer other browsers over Safari.
1Password is only available through a premium subscription starting at $2.99/month. Multiple plans are available with options for families and businesses as well.
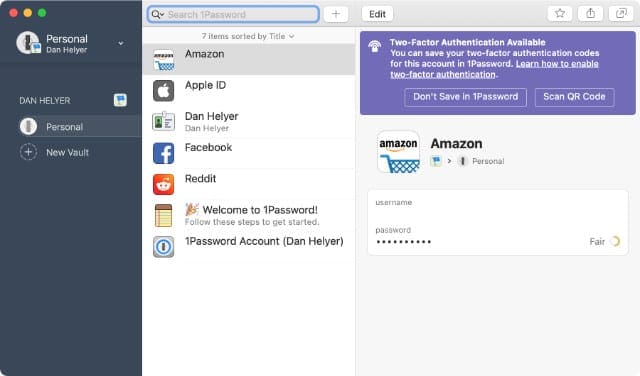
1Password is one of the most popular third-party password managers.
With these plans, you can choose to securely share your passwords with trusted colleagues or family members. This is handy if, for example, you want to let them sign in to your Netflix account without revealing your details.
If you aren’t ready to sign up yet, you can try 1Password for free with a 30-day trial.
It’s easy to save usernames, passwords, credit card details, ID cards, and even secure notes in 1Password. Everything is encrypted with AES-256 bit encryption and protected behind your master password.
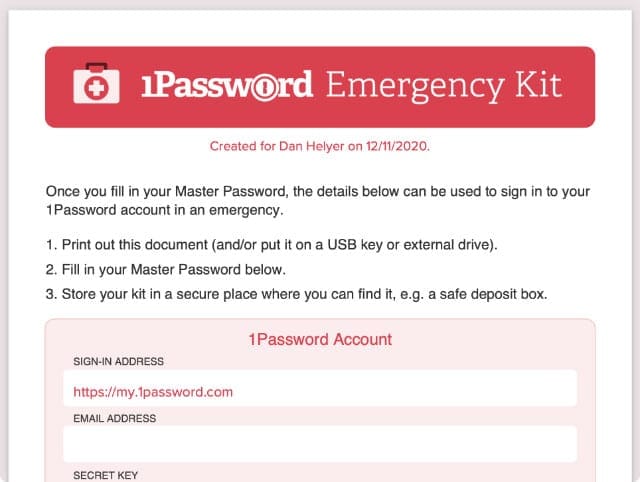
1Password also makes you save a Secret Key, which is a long string of characters that are hard to remember. When signing up for 1Password, you can download this Secret Key in the Emergency Kit PDF, which you ought to print out or save to a USB drive.
Keep your 1Password Emergency Kit somewhere safe.
It’s impossible to sign in to your 1Password account without your Secret Key. Although this makes your account more secure, it also means you run the risk of getting locked out forever if you lose it.
The Watchtower feature in 1Password ensures the security of your account by checking for weak, compromised, or duplicated passwords. It prompts you to update any passwords if you need to.
1Password also offers Travel Mode, which lets you remove sensitive data from your devices when you cross borders, to further protect your privacy. It’s easy to restore your data again once you arrive in your destination.
How to Set Up 1Password
Download the 1Password apps on your iPhone, iPad, Mac, and other devices to access your saved details.
On an iPhone or iPad:
Download 1Password from the App Store, then open the app and sign up for an account. If you already signed up, scan the QR code in your Emergency Kit PDF to auto-fill all your login details except the master password.
Open the Settings app, then go to Passwords > AutoFill and enable 1Password while disabling Keychain.
To save passwords, open 1Password and tap the Add (+) button from the Categories tab. You can choose from a range of different categories.
To use a password, start logging in to a website or app and tap the Passwords option that appears above the keyboard.
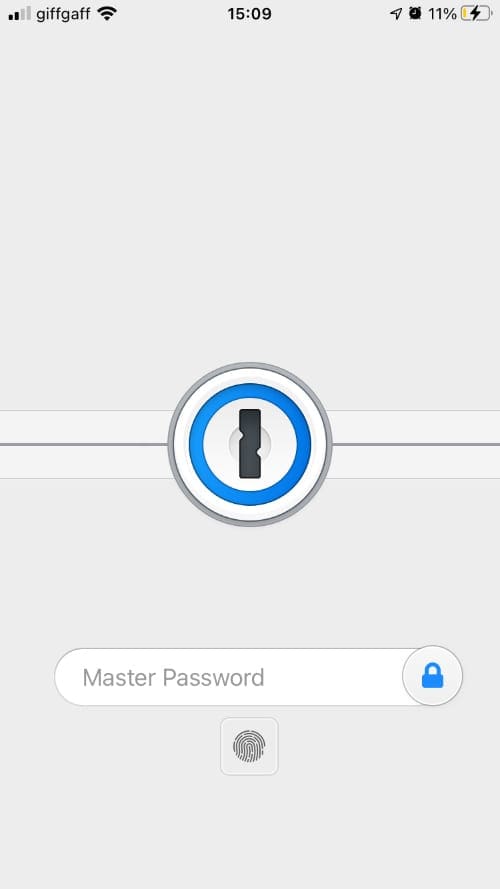
Log in to 1Password with your master password.
Tap the Add button.
Save your login usernames and passwords.
On a Mac:
Download 1Password from the Mac App Store, then launch it and sign up for an account. If you already signed up, enter your username, Secret Key, and master password to log in.
Open Safari and go to Safari > Preferences > Extensions from the menu bar, then enable the 1Password option.
As you log in to apps and websites, 1Password asks if you want to auto-fill your username and password. You can save new details by opening the 1Password app.
To quickly search for, view, or copy and paste your passwords, press Cmd + Backslash (\) to launch a 1Password search bar.
Use the 1Password Mac app to save manage all your passwords.
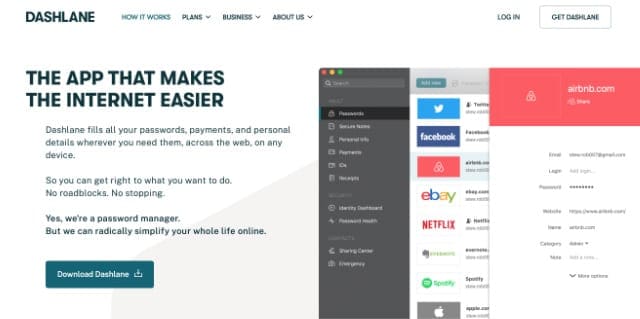
If you don’t want to pay for 1Password, Dashlane is the next best option. This fully-featured password manager offers everything you need to get started managing your passwords for free.
You’re limited to a single device and 50 passwords, but you can upgrade to a premium plan at any time for $3.33/month to unlock unlimited devices and passwords.
Dashlane offers a free subscription plan for password management.
A premium account also gets you access to Dark Web Monitoring and Dashlane’s own VPN service. If you’re willing to pay for a password manager, 1Password is cheaper, but you don’t get these services.
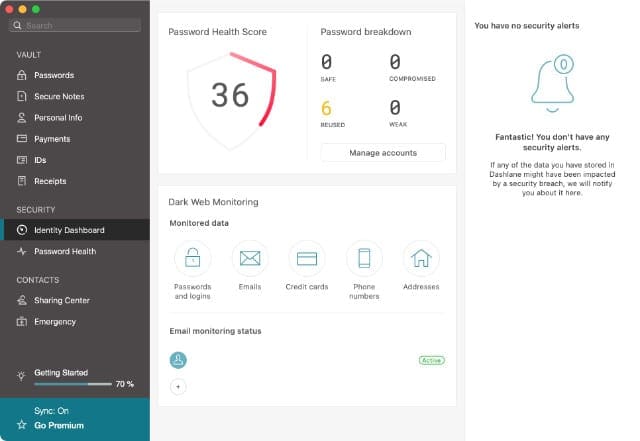
Dark Web Monitoring scans your login details against known breaches on the dark web to discover if any of your data has been compromised. This works alongside Identity Dashboard and Password Health features, which tell you if any of your passwords are duplicated or insecure.
Dashlane prides itself on keeping all your data private with its decentralized, zero-knowledge encryption. This means even Dashlane can’t see your data.
The Identity Dashboard shows you how secure your passwords are.
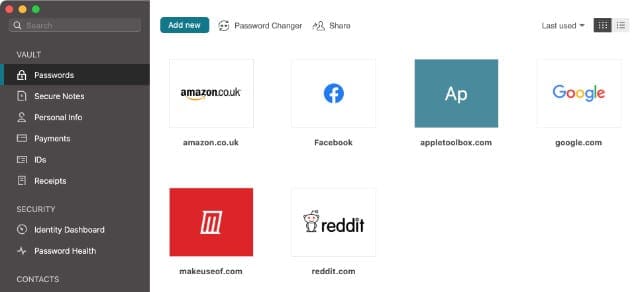
You can store usernames, passwords, credit card details, contact information, ID cards, and even receipts in Dashlane. And all that data is available across iOS, macOS, Windows, Android, and all the most popular Internet browsers.
There’s no Secret Key for registering devices, like with 1Password, so all you need to keep track of is your Dashlane master password.
You can also set up an emergency contact, who can access your account after a waiting period. This is useful if, for example, you passed away.
The biggest downside to Dashlane is that it doesn’t offer to save your login details inside Safari in iOS — you need to manually add details in the Dashlane app, despite it offering this in macOS. Also, the user interface isn’t as clean as 1Password, but it’s still simple enough to work out.
How to Set Up Dashlane
On an iPhone or iPad:
Download Dashlane from the App Store, then open the app and sign up or sign in to your account.
Open the Settings app, then go to Passwords > AutoFill and enable Dashlane while disabling Keychain.
To save passwords, open Dashlane and tap the Add (+) button from the Home or the Vault tab to save new login details. You can choose from a range of different categories of data to save.
To use a password, start logging in to a website or app and tap the Passwords icon that appears above the keyboard.
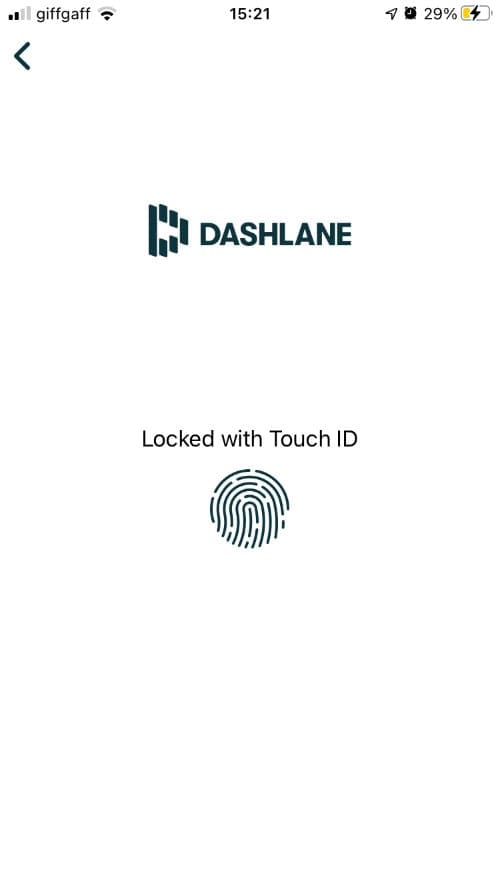
Log in to Dashlane using your Biometrics.
Manage your passwords from the Dashlane home screen.
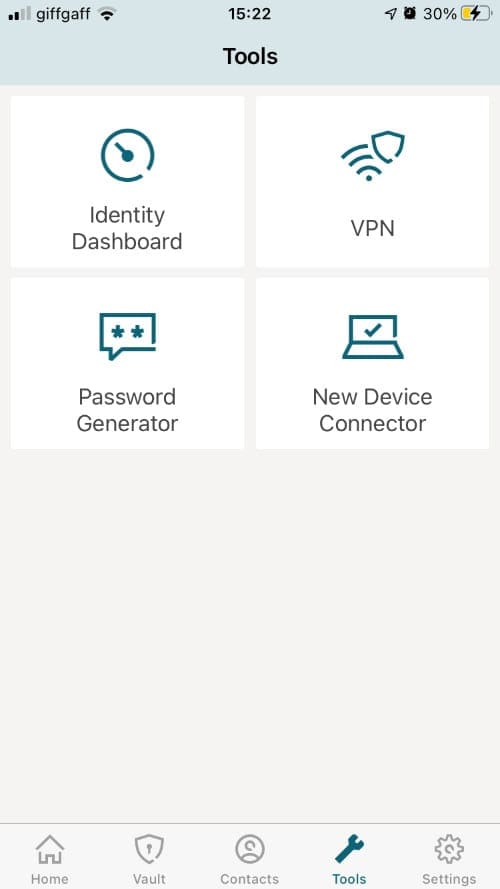
Tap the Tools button for more security tools.
On a Mac:
Download Dashlane from the Mac App Store, then open the app and sign up or sign in to your account.
Open Safari and go to Safari > Preferences > Extensions from the menu bar, then enable the Dashlane option.
As you log in to apps and websites, Dashlane asks if you want to auto-fill your username and password. If you type the login details yourself, Dashlane asks if you want to save them.
Click the Add New button to save new passwords in the Dashlane Mac app.
Bitwarden
The last password manager we’re going to look at for Apple products is Bitwarden. It’s an open-source password manager that can store and manage your passwords, making your online life way more secure and convenient.
Like 1Password and Dashlane, Bitwarden is available on iOS, iPadOS, macOS, Windows, Android, and most major Internet browsers. This makes it far more convenient than iCloud Keychain if you use a range of devices. It even has extensions for your favorite browser, while allowing you to sync your vaults across multiple devices.
There are three different plans if you want to sign up for Bitwarden. The first of which is free, and provides unlimited passwords, unlimited devices, and the ability to share vault items with one other user. Bitwarden Premium costs less than a $1 per month, as it’s $10 billed annually. With Bitwarden Premium, you’ll enjoy “advanced 2FA”, “Bitwarden Authenticator”, emergency access, security reports, and everything included with the free version.
Lastly, Bitwarden Families is priced at $40 per year, which works out to just $3.33 per month. With Families, you are able to share Bitwarden with up to six premium accounts, and this includes unlimited family sharing, unlimited collections, and “organization storage”.
If you need a bit more convincing, here are some of the key features you’ll enjoy when using Bitwarden on your Apple devices:
Generate Strong Passwords: Bitwarden can generate strong and unique passwords for you. If you’ve been using ‘password123’ everywhere, this feature is a game-changer.
Secure with Two-Factor Authentication (2FA): You can set up additional security like two-factor authentication to ensure that your vault is extra secure.
Local Hosting Option: For those who are a bit more tech-savvy and concerned about privacy, you can host your Bitwarden vault on your own server. Neat, right?
Audit and Assess Security: Bitwarden provides tools to audit your passwords, showing you weak or reused passwords so that you can keep your online security in tip-top shape.
The developers are even keeping up with the times, as it recently introduced support for passkeys, which will allow you to “store your passkeys alongside passwords, secure notes, and other sensitive credentials in your Bitwarden Password Manager.”
How to Set Up Bitwarden
On an iPhone or iPad:
Download Bitwarden from the App Store, then open the app and sign up or sign in to your account.
Follow the prompts to add your first password with the Add (+) button.
Open the Settings app, and go to Passwords > AutoFill. Enable Bitwarden and disable Keychain.
To use a password, start logging in to a website or app and tap the Passwords icon that appears above the keyboard.
On a Mac:
Download Bitwarden from the Mac App Store, then open the app and sign up or sign in to your account.
Follow the prompts to add data to your vault, then use Cmd + Shift + L to search for that data when you need it in another app.
Which Is the Best Password Manager for Mac and iPhone?
We’ve only scratched the tip of the iceberg when it comes to all the different password managers available for your Apple products, but the options we’ve listed here are the best of the bunch.
In case you’re struggling to decide between them, we thought we’d make it as simple as possible:
iCloud Keychain: The best option if you only use Apple products and you only use Safari.
1Password: The best paid option for cross-platform and cross-browser support.
Dashlane: The best free option if you only need to use a single device.
Bitwarden: The cheapest option for those who want premium features without paying a premium price.
Let us know your thoughts and experiences with these password managers in the comments! In the meantime, make sure you’re doing everything you can to make your iPhone as secure as possible.
Dan writes tutorials and troubleshooting guides to help people make the most of their technology. Before becoming a writer, he earned a BSc in Sound Technology, supervised repairs at an Apple Store, and even taught English in China.
My password manager Passwords Plus is closing on 30th June 2022. They have suggested transferring data to mSecure but they only support iOS versions of 12.4 or later.
I am looking for a password manager that will operate on my older iPads both of which ate versions 9.3.6. Any suggestions most welcome.
I’ve been using Bitwarden since mid 2019, I think.
I used to use 1Password, but when they became greedy and rude – I had purchased 1Password, but they were going to force me onto a subscription model to keep getting updates – I switched to Bitwarden. I wish that I’d done it earlier!
Yes, it is only a young company. And it is an open source product. That means that there are volunteers working to make the product, and fix bugs and make improvements. And if you find something wrong, you can talk (chat) to the people who are probably going to work on fixing the problem.
There’s a free plan which allows unlimited passwords across multiple devices (on every platform I can think of) with all the basic features needed. If you want or need some extra features, there is a paid plan which is a startlingly low cost of $10 USD per YEAR. That’s less than $1 per month. I haven’t found the need to subscribe to the paid plan. Maybe one day I will.
And no, I am not on their payroll, nor do I get any commission! I just think that it’s the best password manager.


John, see my reply to Maria, below.
I’ve never heard of the password manager that you’re currently using, but I have no hesitation in recommending Bitwarden.
My password manager Passwords Plus is closing on 30th June 2022. They have suggested transferring data to mSecure but they only support iOS versions of 12.4 or later.
I am looking for a password manager that will operate on my older iPads both of which ate versions 9.3.6. Any suggestions most welcome.
Today someone told me about Bitwarden. Based out of California. It looks interesting but the company has been around only since 2016.
I’ve been using Bitwarden since mid 2019, I think.
I used to use 1Password, but when they became greedy and rude – I had purchased 1Password, but they were going to force me onto a subscription model to keep getting updates – I switched to Bitwarden. I wish that I’d done it earlier!
Yes, it is only a young company. And it is an open source product. That means that there are volunteers working to make the product, and fix bugs and make improvements. And if you find something wrong, you can talk (chat) to the people who are probably going to work on fixing the problem.
There’s a free plan which allows unlimited passwords across multiple devices (on every platform I can think of) with all the basic features needed. If you want or need some extra features, there is a paid plan which is a startlingly low cost of $10 USD per YEAR. That’s less than $1 per month. I haven’t found the need to subscribe to the paid plan. Maybe one day I will.
And no, I am not on their payroll, nor do I get any commission! I just think that it’s the best password manager.