Storing everything to the cloud can be convenient, but some people like knowing that everything they do has more of a physical backup in case something goes wrong with cloud storage. Alternatively, you might want to move files from the iCloud onto a new Mac so that you can work with the files more directly. Below we’ll go over how to save everything that’s in iCloud to the Mac.
You have a few options here when moving files between iCloud and Mac. One way to get everything transferred quickly and easily is through the iCloud Drive. iCloud Drive is Apple’s file storage feature that is cloud-based. This is the best option if you simply need everything from an old computer to a new one, as long as both are connected to the same Apple ID.
Using iCloud Drive will sync the files between Mac and iCloud, too. While it’s not strictly transferring everything from iCloud to the Mac alone, this keeps everything up-to-date across multiple devices. If you make a change on an iPad, then that file syncs and you can access it the same way on the Mac. For that reason, it’s worth setting up if you work across multiple devices and need to easily access everything on the Mac.
Another way is to download files individually. This can be a good option if you only have a few main files you tend to work in, such as certain Excel spreadsheets for household budgeting. There are also ways to add additional information like contacts or calendar information if you want to customize what is on your Mac.
Read on to learn how each of the methods below works. But first, make sure you have an Apple ID set up, as these methods mostly require one.
Moving Data with iCloud Drive
Click on the Apple Icon and select System Preferences.
Click Apple ID at the top left of the screen.
The system may ask for your Apple ID credentials. Enter these to log in.
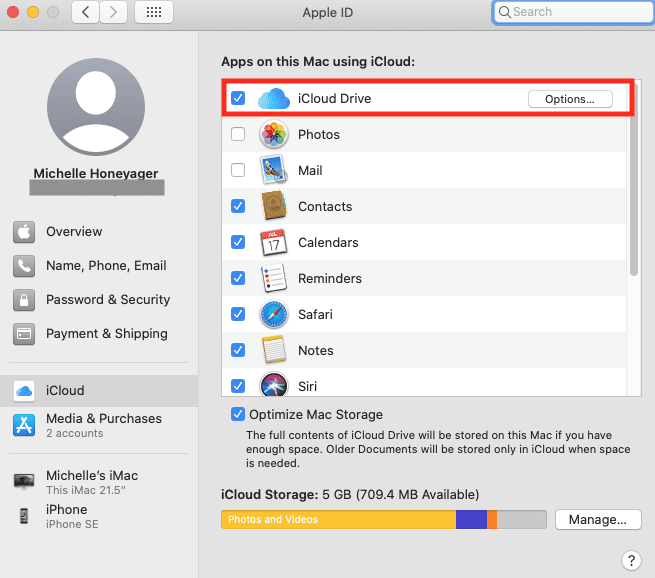
Check the iCloud Drive box at the top of the screen.
Once the iCloud drive is enabled, you can open the Finder and find iCloud Drive on the left pane of the navigation window:
Click on that to access the file you need as long as the old Mac is synced to the same Apple ID. To get individual files, you can manually save them to the new Mac after accessing them through iCloud Drive
For anyone looking to transport all their documents, you can make the iCloud drive store all documents from the Desktop & Documents Folders. To do that:
Open System Preferences.
Click Apple ID.
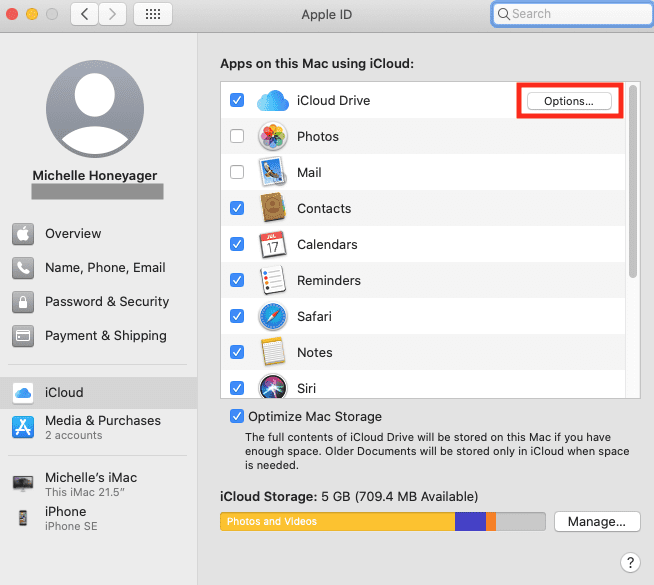
Select Options.
A window should show the apps that sync data to the iCloud drive.
Select Desktop & Documents Folders.
You may have to follow prompts to set up iCloud, like choosing between the free and paid versions.
You can also check other apps if you want to completely transfer all data.
Once everything is synced, you can manually access and save the files by dragging everything into corresponding Mac folders. The Apple Support pages recommend holding the Option key and dragging the file to the new location from the iCloud Drive sidebar in any Finder window.
If you don’t want to manually save everything, there is also the option of using the Migration Assistant to transfer all data from an old computer to a new one. You can check out how in our guide here. It can even work between Windows and Mac computers.
Downloading Single or App Data Files Using a Browser
If you really only need one or a few files, you can achieve this through using your browser:
Open your browser of choice.
Go to iCloud.com
Sign in using your Apple ID.
Click the iCloud Drive.
Find the file you want to save.
You should see an icon that looks like a cloud, click that to begin the download.
You can also download a wide variety of data with this method, like calendar events, Notes files or contacts.


Write a Comment