If you have an online account somewhere, (such as your Apple ID), you need to have two-factor authentication enabled for the account. This provides an additional layer of security for your accounts, which can truly be invaluable. With 2FA, not only is there another way to keep your account secured, but it also offers a “heads up” in the event that someone else is attempting to get into your account.
But when it comes to the biometrics aspect of things, this is where we see some of the usefulness from TouchID or Face ID on our Apple devices. Did you know you can set up iCloud Keychain to act as a two-factor authenticator on your Mac? This is a relatively new addition, and one that can save you quite a bit of headache.
What Is Two-Factor Authentication (2FA)?
Whenever you create an account on a website or within an app, you provide a single layer of security by default. This layer is pretty obvious, but it’s whatever password that you entered when creating the account. It should go without saying, but we recommend using an app like 1Password to manage your passwords, as you will want to create unique passwords with every account. By doing so, you reduce the risk of multiple accounts being compromised if you use the same password across the board.
There is another layer of authentication that can be added, and that’s when you start hearing about “2FA” or two-factor authentication. Many of the most popular apps and services already offer this, but it’s something that you should aim to enable on any and all of your accounts.
By enabling two-factor authentication, you not only need to enter the correct password, but you’ll also need to provide the second layer of verification. Sometimes this is done via an email, or with a code sent via text message to your device. Apple handles 2FA a bit differently, as it uses your other Apple “Trusted Devices” to automatically generate those codes and then enter them on the device you need it on.
Set Up Two-factor Authentication on Mac
Before you can set up two-factor authentication on the Mac, you’ll first need to enable it on the account that you want the added security. Going even further, if you want iCloud Keychain to automatically provide authentication codes when logging in, you can also do that. But first we need to log into our accounts and grab an authentication code to use on the Mac.
Open Safari on your Mac.
Navigate to the website that you want to enable 2FA for.
Log in with your account information.
Look in the Settings for a two-factor authentication settings panel.
If available, select the Authentication app option.
Follow the on-screen steps until you receive an authentication code.
After you have received the authentication code from the online service, now you can proceed with setting up two-factor authentication with iCloud Keychain on the Mac.
Open the System Preferences app on the Mac.
Click Apple ID.
Select Password & Security in the Sidebar.
Search for the login that you enabled 2FA for.
Next to Verification Code, click the Enter Setup Key… button.
Enter the verification code provided previously.
Click the OK button in the bottom right corner.
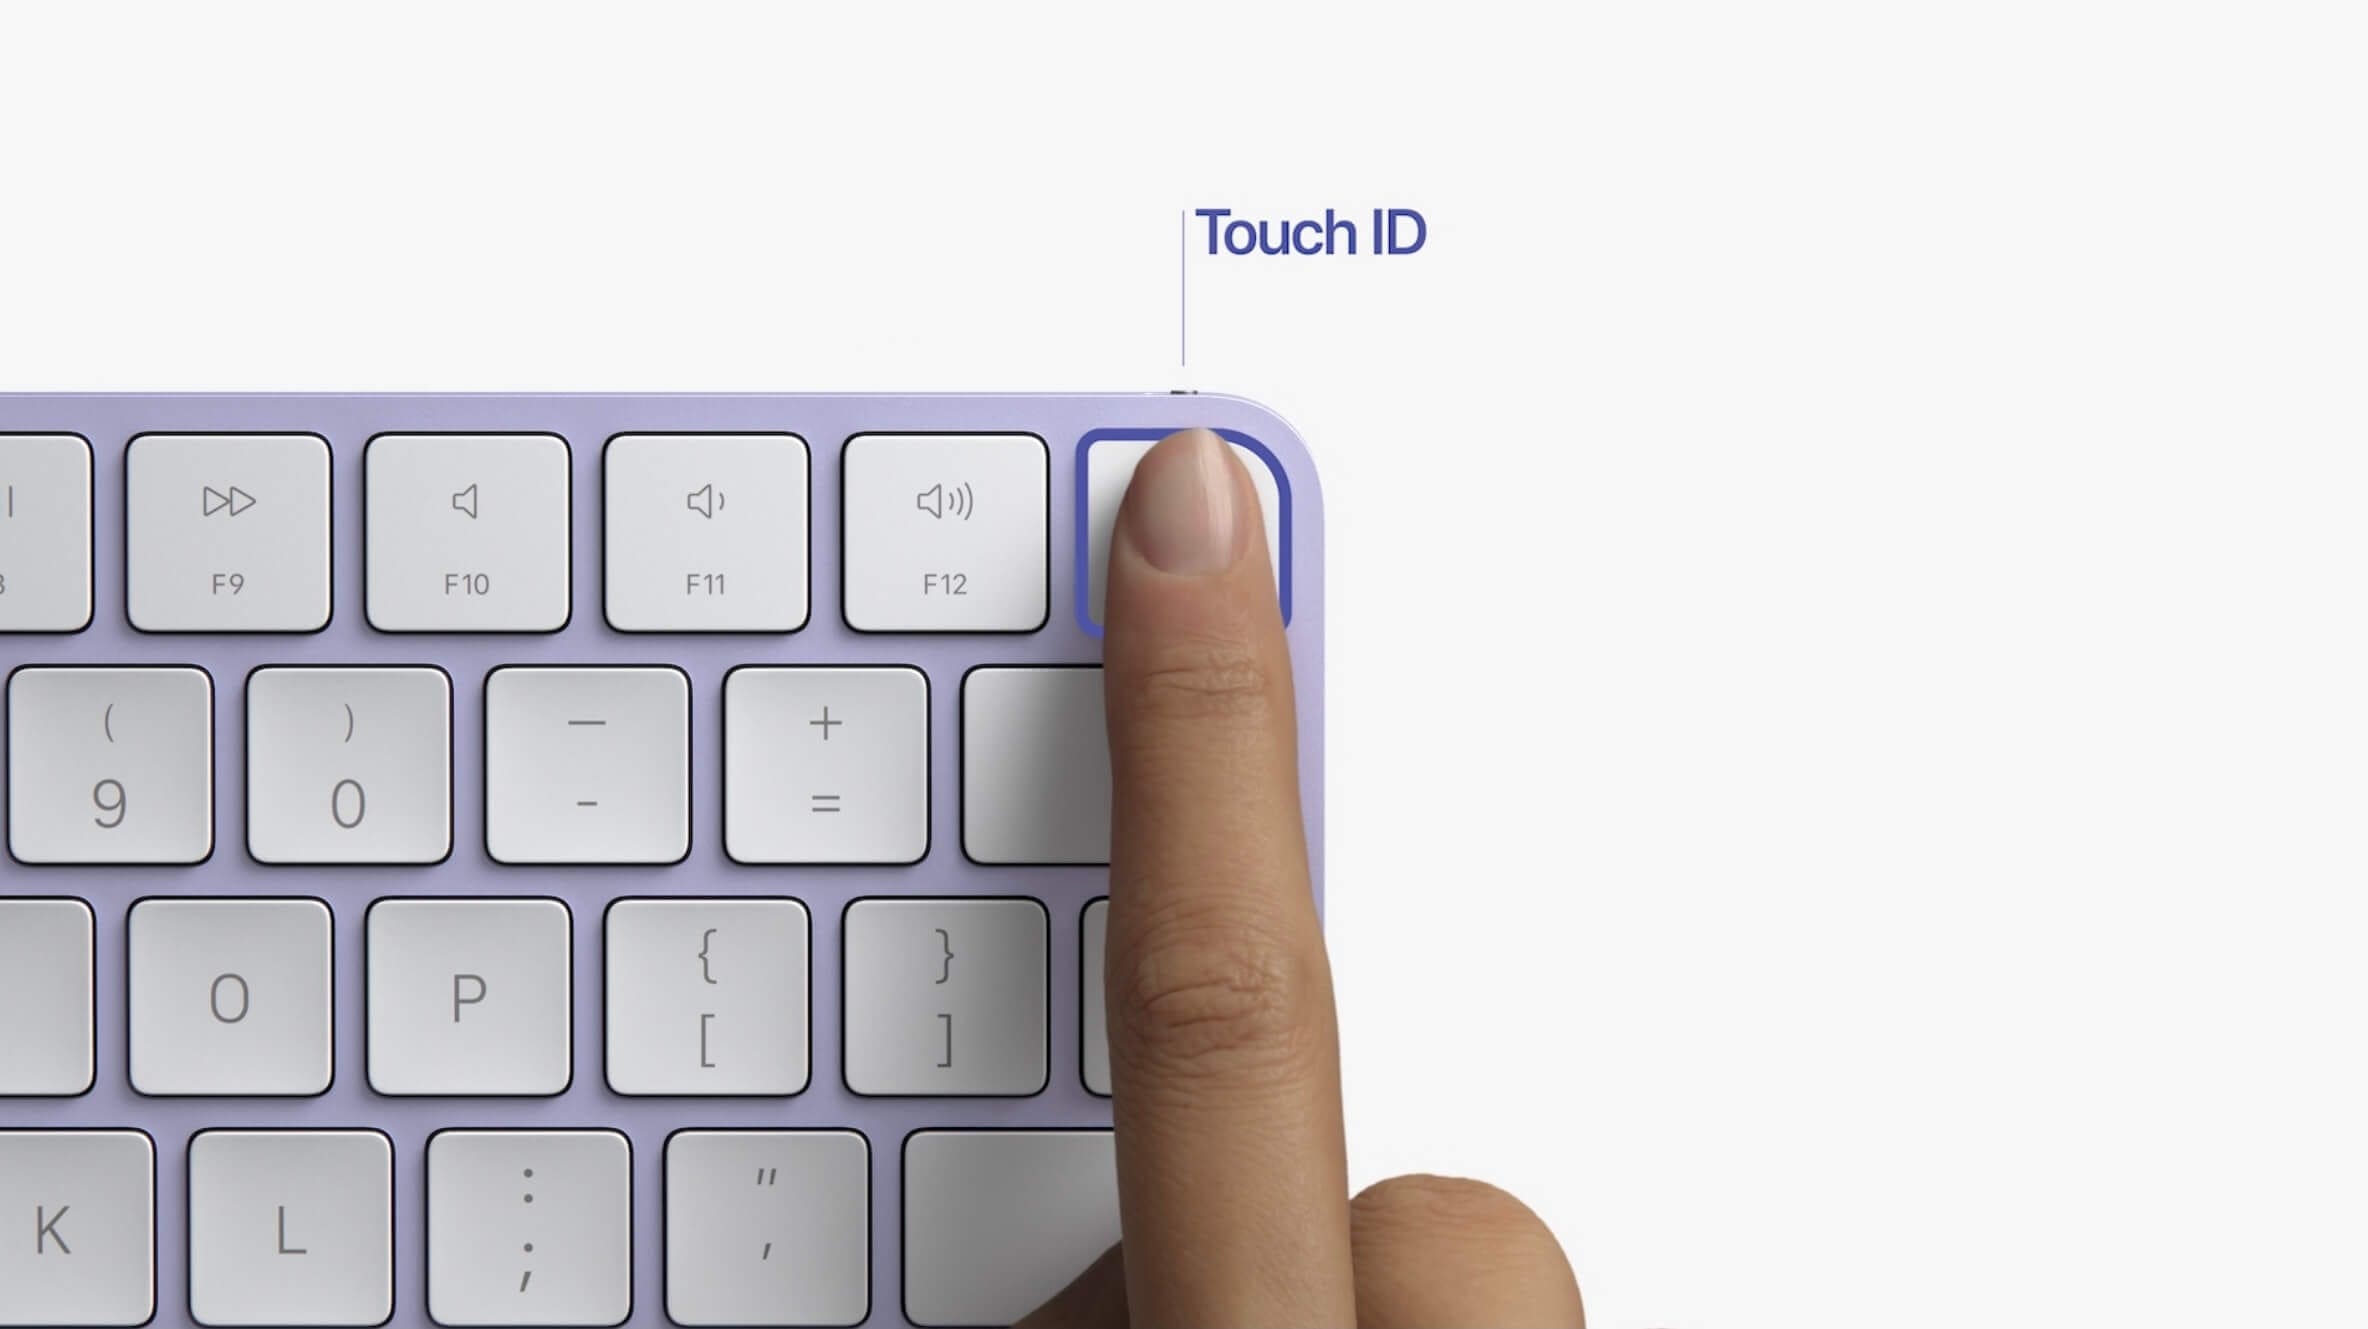
Once the setup is completed, you’ll be able to have those security codes automatically pasted from iCloud Keychain and into the prompt box. What makes this even more useful is that you can use Touch ID in order provide an additional layer of security, or you can just enter your password whenever you’re prompted.
Andrew Myrick is a freelance writer based on the East Coast of the US. He enjoys everything to do with technology, including tablets, smartphones, and everything in between. Perhaps his favorite past-time is having a never-ending supply of different keyboards and gaming handhelds that end up collecting more dust than the consoles that are being emulated.


Write a Comment