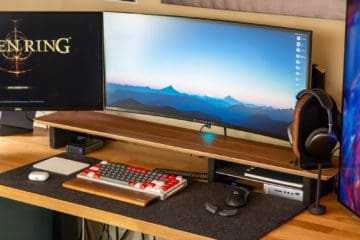
There are quite a few people out there who only rely on their MacBook’s primary screen, while others make use of Apple’s iPad and SideCar implementation. Being able to use a second monitor with the Mac is extremely convenient, especially for those who tend to have a bunch of apps, windows, and browser tabs open at the same time. Today, we’re going to look at how to use a second monitor with the Mac, regardless of what your setup looks like.
If you own a pre-2016 MacBook or MacBook Pro, were considered rather lucky for quite a long time. This is when Apple transitioned to the ultra-thin MacBook Pro design, which resulted in Apple getting rid of the useful HDMI port that was built into the side. Instead, users were forced to live the “dongle life”, or purchase a USB-C / Thunderbolt monitor if they needed a second screen.
That period of time lasted from 2016 all the way up to 2021, as Apple’s introduction of the 2021 14-inch and 16-inch MacBook Pro models brought back some useful ports. These include a full-sized SD card reader, and an HDMI port, to go along with providing multiple Thunderbolt 4 ports.
As for Apple’s lineup of desktop Macs, here’s what the port selection looks like across the board:
Mac Mini – Thunderbolt 3 / HDMI
Mac Studio – Thunderbolt 4 / HDMI
iMac – Thunderbolt 3
Mac Pro – Thunderbolt 3 / HDMI / DisplayPort
With the exception of the 24-inch iMac, all of these have a built-in HDMI port that can be used to connect a second monitor. In the case of the Mac Pro, things are quite a bit different as your display options vary, depending on what graphics card is being used. Some only offer HDMI, while others rely on a combination of HDMI, Thunderbolt, and DisplayPort. But the fact remains that if you go for a desktop Mac, connecting a second monitor is extremely easy. Just get the right cable, pick up a monitor that you like, and plug everything in.
Use Apple’s SideCar As a Second Monitor With the Mac
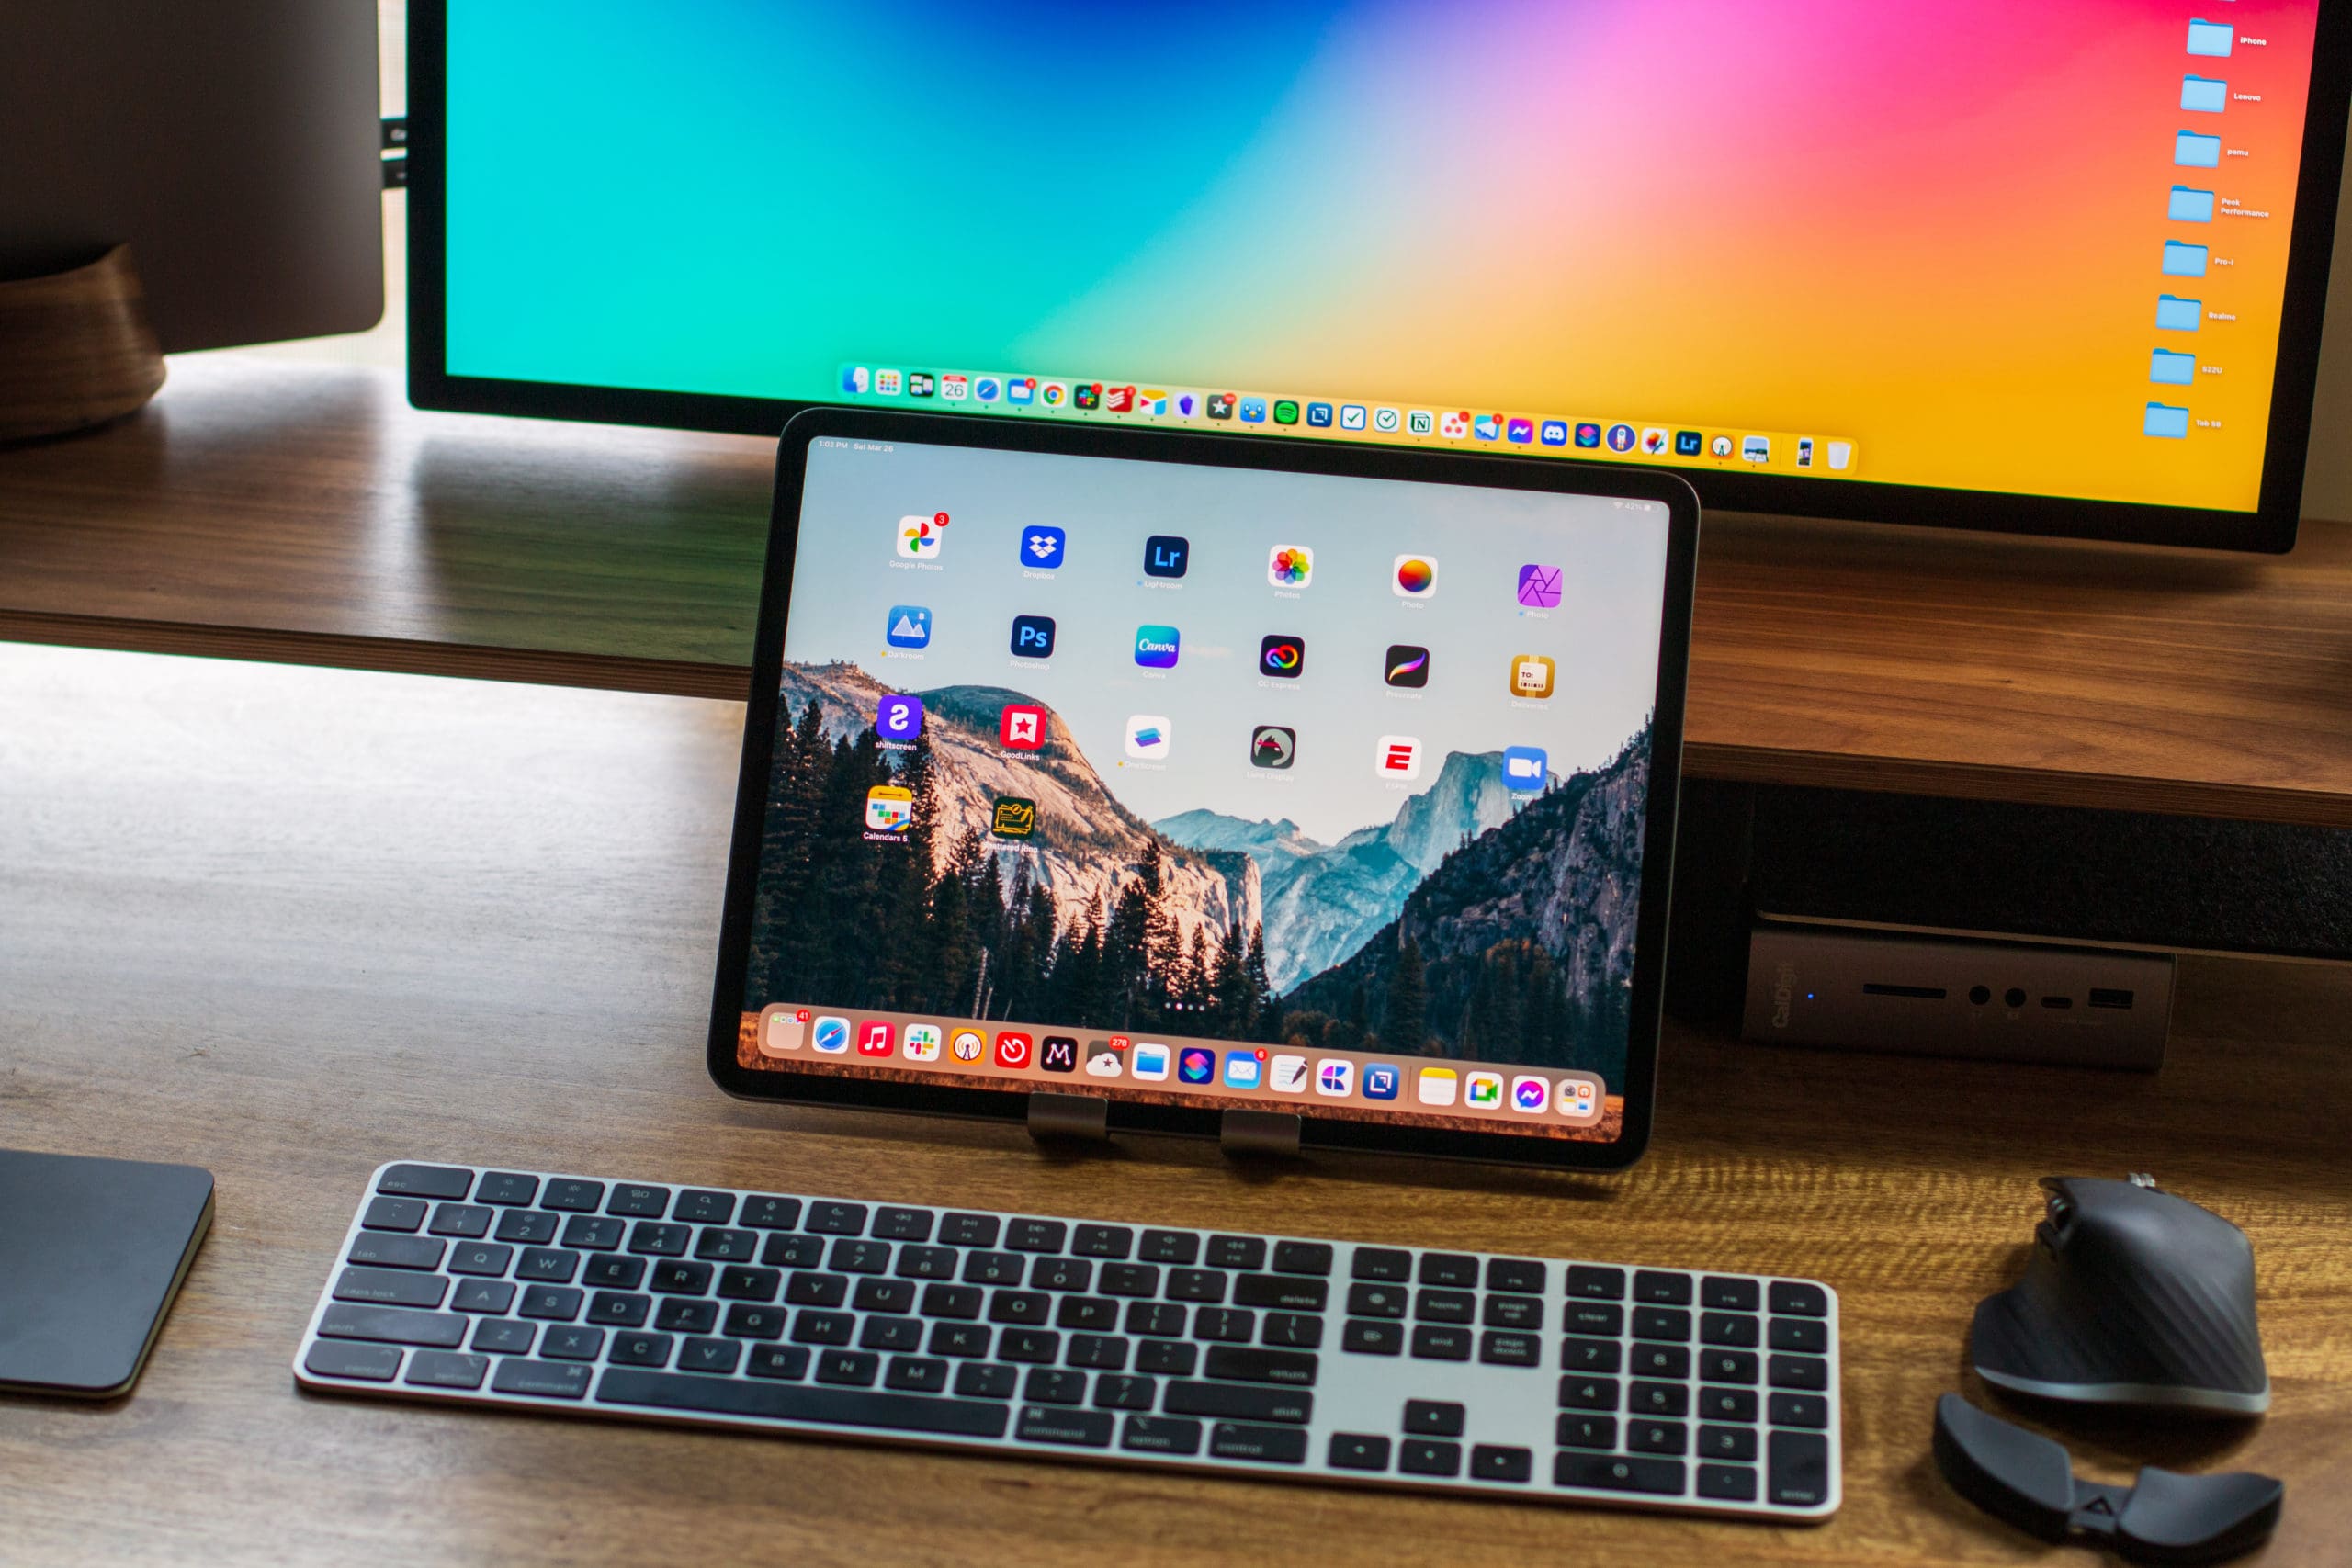
If you own pretty much any modern iPad, you can turn it into a second monitor with the Mac. There are two different ways to use SideCar with your Mac, as you can connect a cable directly between both devices, or just use it wirelessly. In the event that you want to use SideCar, here’s how you can enable it:
Unlock your iPad and your Mac.
Open the System Preferences app on your Mac.
Click Displays in the bottom left corner.
In the bottom left corner, click the Add Display button.
From the drop-down menu, select the name of your iPad.
Wait a few moments.
Enjoy!
The only “catch” here is that you’ll need to be signed into the same Apple ID across both devices. Otherwise, SideCar will not work as the devices are unable to properly communicate. Additionally, if you want a more reliable connection between your iPad and Mac, we recommend connecting these devices with a Thunderbolt cable. Going wireless is convenient, but it’s nowhere near as reliable as using a hard-wired connection.
Monitor Limitations With M1 Processors
As we near the end of Apple’s transition to a Mac lineup with all Apple Silicon, this means that monitor connections have been constantly changing. If you own an Intel Mac, there were no issues connecting multiple monitors if you wanted to use more than just one or two. But there are limitations with Apple Silicon, which prohibit the ability to just use as many monitors as you can get your hands on.
M1:
iMac, Mac mini, MacBook Air, and 13-inch MacBook Pro – Connect one external display using either of the Thunderbolt / USB 4 ports.
Mac Mini – Connect a second display to the HDMI port.
M1 Pro – Connect up to two external displays to your Mac using the Thunderbolt 4 (USB-C) and HDMI ports.
M1 Max:
MacBook Pro – Connect up to four external displays to your Mac using the Thunderbolt 4 (USB-C) and HDMI ports.
Mac Studio – Connect up to five external displays to your Mac using the Thunderbolt 4 (USB-C) and HDMI ports on the back of the computer.
M1 Ultra – You can connect up to five external displays to your Mac using the Thunderbolt 4 (USB-C) and HDMI ports on the front and back of the computer.
Apple also confirms that even if you are using third-party docks or trying to daisy-chain monitors together, that does not change the number of monitors that can be connected. It’s an unfortunate situation that we can only hope is solved after Apple unveils its next lineup of desktop-class processors.
Best Monitors For Mac
If you’re ready to add a second monitor to the Mac, but are having a difficult time figuring out which monitor to get, we’ve got you covered. There are several great options available, and not all of them cost an arm and a leg. One option that you won’t see included in the list below is the Pro Display XDR. As the name suggests, this is really meant for professionals and is quite a bit more expensive than you likely will be wanting to spend.
The most obvious starting point if you want to connect a second monitor to the Mac is Apple’s own Studio Display. The display itself sports a 27-inch screen with a 5K resolution. You are going to be missing out on Apple’s excellent ProMotion technology, as the panel is limited to a refresh rate of 60Hz. But what you get in return is one of the most elegantly designed monitors that we’ve ever seen. This truly is the monitor that everyone has been asking for, ever since we first laid eyes on the ProDisplay XDR and its exorbitant price tag.
There are plenty of great 27-inch monitors out there, and there’s really nothing that this one from Dell does that the others don’t. But the reason why this makes the list over others is simply that it’s just reliable. Dell makes some of the best monitors out there, combining excellent picture quality with a sturdy design. With the U2720Q, you’re getting a 4K UHD resolution, complete with USB Type-C, DisplayPort, and HDMI connections. Plus, there are USB-A ports built-in so you can connect your various peripherals without needing a dock.
Apple’s 27-inch Studio Display is all fine and dandy with its 5K resolution and easy one-cable connectivity solution. But if you need just a little bit more screen real-estate, you might want to check out LG’s 5K 2K monitor. This beast measures in at 34-inches, and includes plenty of ports, such as Thunderbolt 3, HDMI, DisplayPort, and USB-C. It works with both macOS and Windows, so you can connect it to multiple devices at the same time. The only downside is the same one found in the Studio Display, as the refresh rate is limited to just 60Hz.
Gaming monitors have always been popular, but if you want the biggest monitor that you can get, then Samsung’s Odyssey G9 is the way to go. Not only is this a curved monitor, which is better for ergonomics and easier on the eyes, but it sports an incredible 49-inch display. It works flawlessly with your Mac, regardless of what version you have, and is even better for those who want to also have a Windows PC connected to it. As you might expect from a gaming monitor, the Odyssey G9 offers a 240Hz refresh rate using a QLED panel. There’s also a new (and much more expensive) Mini-LED model that also comes with a 240Hz refresh rate, to go along with the 4K UHD resolution.
Andrew Myrick is a freelance writer based on the East Coast of the US. He enjoys everything to do with technology, including tablets, smartphones, and everything in between. Perhaps his favorite past-time is having a never-ending supply of different keyboards and gaming handhelds that end up collecting more dust than the consoles that are being emulated.


What do I want