Your device asks if you trust this computer whenever you connect it to a new Mac or PC. If you tap Trust, it shares data with that computer. You can reset the “Trust This Computer” settings on your iPhone or iPad at any time.
It’s a good idea to reset the trusted computers if your device trusts computers in a public place or if you plan to get rid of your own computer. Try to avoid trusting computers in the library, at work, or at school.
Find out how to reset the trusted computers for your iPhone or iPad below.
Why does my iPhone or iPad need me to trust this computer?
You don’t need to trust every computer you use with your iPhone, iPad, or iPod touch. In fact, you probably shouldn’t trust all of them!
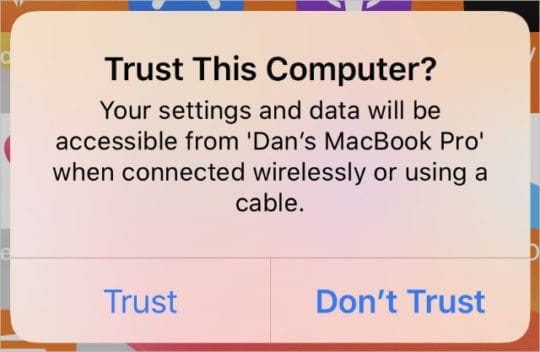
When you agree to Trust a computer, you tell your device it’s okay to transfer data to and from the computer, without needing your passcode to do so.
The “Trust This Computer” alert appears when you connect to a new computer.
That’s great for syncing music, uploading photos, or creating a backup using Finder. But if someone else used that computer, they can see all the content you synced and even connect your iPhone to access the data you didn’t sync.
Tap “Don’t Trust” to charge your device
If you only need to charge your device, tap Don’t Trust to keep your data secure. Your iPhone or iPad still charges even if it doesn’t trust the computer.
The next time you connect to that computer, your iPhone or iPad will give you the opportunity to trust it again.
How do I reset trusted computers on my iPhone or iPad?
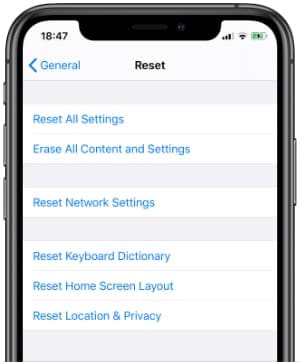
Select the Reset Location & Privacy option to stop trusting computers.
Unfortunately, you can’t choose individual computers to stop trusting from your iPhone or iPad. But you can reset all of your trusted computers at once by resetting the Location & Privacy settings.
When you reset your Location & Privacy settings, it also reverts various other settings to their default state.
This includes your Location Services preferences as well as the Microphone, Camera, and Bluetooth access granted to different apps. Each app prompts you for access again the next time you use it.
Resetting the Location & Privacy settings on your iPhone or iPad shouldn’t delete any content from your device. That said, we recommend you make a backup first, just in case.
To reset your Location & Privacy settings:
Go to Settings > General > Reset.
Tap Reset Location & Privacy.
If prompted, enter your device passcode.
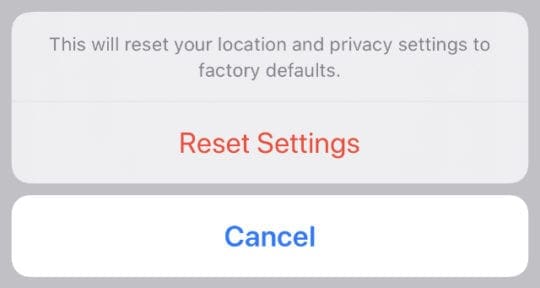
Confirm you want to Reset Settings.
Tap Reset Settings to reset your trusted computers.
What if I can’t reset the Trust This Computer settings?
If your iPhone or iPad still connects to computers without asking you to trust them first, you might need to take more extreme steps to reset your settings.
Sometimes this happens when there’s a bug in your device’s operating software. But it can also happen when you’re running a particularly old version of iOS.
Follow the steps below to fix it.
Step 1. Reset the Network settings on your device
This erases any Wi-Fi passwords saved to your iPhone, iPad, or iPod touch. It should also reset your trusted computer settings.
Go to Settings > General > Reset.
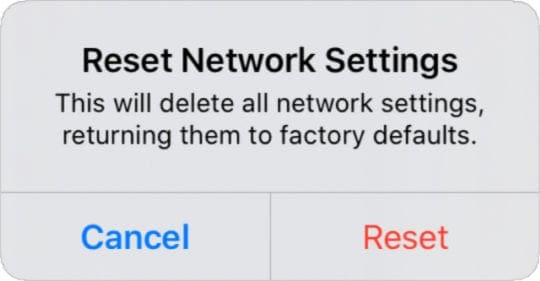
Tap Reset Network Settings.
If prompted, enter your device passcode.
Confirm you want to Reset Network Settings.
Don’t reset your network settings unless you can reconnect to Wi-Fi.
Step 2. Update to the latest version of iOS or iPadOS
Apple frequently releases new software updates to patch existing problems. Update your software to make sure you’ve got the latest patches.
Connect your iPhone, iPad, or iPod touch to a working Wi-Fi network.
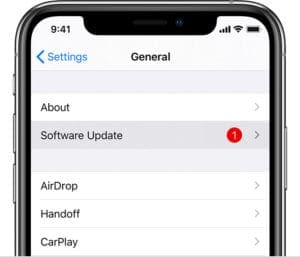
Go to Settings > General > Software Update.
Download and install any available updates for your device.
Update your device to the latest software.
Step 3. Erase all content and restore your device
In extreme cases, you may need to completely erase your device and restore it from a backup. This step is certain to reset the trusted computers, but it can also be rather time-consuming.
Be sure to make a new backup of your iPhone, iPad, or iPod touch first. Then follow the steps below to erase it.
Go to Settings > General > Reset.
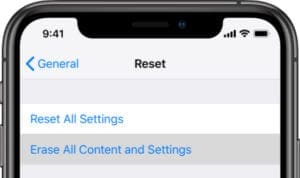
Tap Erase All Content & Settings.
Choose to Back Up Then Erase your device.
If prompted, enter your passcode and Apple ID password.
Confirm you want to Erase [Your Device].
After your device restarts, follow the setup prompts to recover a backup.
Back up your device before you erase it.
What if my iPhone keeps asking to Trust This Computer?
Some of you might be experiencing the opposite of this problem. Rather than worrying about your iPhone or iPad trusting public computers, it nags you to trust the same computers every time you try to use them.
After you tell your device to Trust a computer once, it shouldn’t ask you again unless you reset the settings.
But if that does keep happening—or if your device never agreed to trust your computer in the first place—you might be able to fix it with the tips below.
These tips also work if your device keeps asking, “Do you want to allow this computer to access information on the iPhone?”
Step 1. Use an authentic cable to connect your device
Cheap Lightning-to-USB cables don’t work very well when you connect your device to a computer. You can also experience problems if the cable you’re using is damaged.
Make sure the accessories you use are certified MFi.
Step 2. Try a different USB port on your computer
If there is debris in the USB port on your computer it could get in the way of data transfer from your device. Shine a flashlight in there and use compressed air to get rid of anything that doesn’t belong.
You should also test a different USB port on your computer. If that works, there’s a chance the first port you tried is damaged.
Test a different USB port on your computer.
Step 3. Use a Terminal command to bypass the Trust prompts
If nothing else works, you can disable the Trust This Computer prompt entirely for your Mac. I don’t recommend this since it makes your data less secure, but you can try it if nothing else works.
Be wary of entering Terminal commands you find online. If you misspell a command—or enter a bad command correctly—you could cause irreparable damage to your operating system.
Dan writes tutorials and troubleshooting guides to help people make the most of their technology. Before becoming a writer, he earned a BSc in Sound Technology, supervised repairs at an Apple Store, and even taught English in China.


Write a Comment