When you’re looking through thousands of pictures in the Photos app, it’s quicker to glance at thumbnails than to swipe through each photo individually. But if there’s a problem with your photo library, it might show incorrect thumbnails.
Sometimes your thumbnails appear corrupt, show the wrong photo, or don’t show anything at all. If this happens on one of your Apple devices, follow the troubleshooting steps in this article to fix it.
Related:
- Cannot Close Photos Library? Stuck on “Closing the Library” Message?
- Why Does Photos Say “Analyzing Library” on My Apple Devices?
- How to Fix the Error “iCloud Photos Could Not Be Turned On”
Contents
Back Up Your Photo Library First
If your photo thumbnails are missing or incorrect, it points toward a deeper problem with your photos library. Make a backup of the library as soon as possible to avoid further corruption.
There are two ways to back up the photos on your device.
Option 1. Use iCloud Photos to Upload Your Library
The simplest way to back up all the photos on your Apple device is using iCloud Photos. When you turn it on, iCloud Photos uploads all your photos to the cloud and makes them available on your other Apple devices as well.

Apple keeps your iCloud content protected across multiple servers, so you can be confident you aren’t going to lose your photos. The only catch is that you need enough iCloud storage to hold your entire photo library.
Turn on iCloud Photos from the iCloud settings on your Apple device. Then keep your device connected to Wi-Fi while it uploads your photo library.
Option 2. Back Up Your Device to Copy All Your Local Photos
If you don’t want to use iCloud Photos—or if you don’t have enough iCloud storage to upload your library—you need to back up your entire device instead.
When your photos are on an iPhone, iPad, or iPod touch, connect that device to a computer and make a backup using Finder or iTunes.
When your photos are on a Mac, use an external drive to back up your Mac using Time Machine.
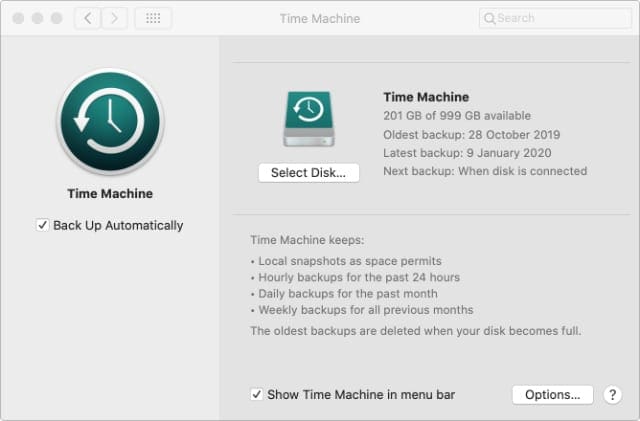
After making a fresh backup of your photo library, follow the troubleshooting steps below to fix your missing or incorrect thumbnails. Let us know in the comments which step works for you.
Step 1. Use the Photos Library Repair Tool on a Mac
In macOS, the Photos app features a Library Repair Tool which can fix incorrect thumbnails. This tool analyzes your library to find and repair any inconsistencies with your photos.
If you don’t own a Mac, borrow one and sync it with your photos to get access to this tool. Be certain to remove your personal data from it when you’re finished.
Hold down Cmd + Option while opening the Photos app on a Mac to use the Library Repair Tool. When prompted, choose to Repair the library and enter your administrator’s password.
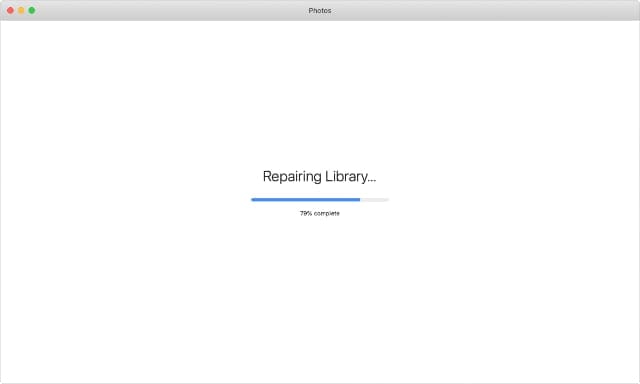
The repair process usually takes around 10 minutes. But it may take longer if you have a particularly large library, a slow Mac, or a lot of errors to repair.
If you use iCloud Photos, the Library Repair Tool re-syncs your entire library after analyzing and repairing your photos. This ensures that iCloud has the latest, most stable version of each photo.
Step 2. Rotate Photos to Regenerate the Thumbnails
Sometimes the thumbnail files for your pictures are corrupt, but the actual image itself doesn’t have any problems. When this is the case, you can force the Photos app to create a new thumbnail by editing the image in some way.
The simplest option is to rotate images, then rotate them back again.
Without a Mac, you need to load each image individually, then tap Edit and rotate it. Save the edit and return to the thumbnail view. When Photos creates a new, rotated thumbnail, edit the image again to put it back to normal.

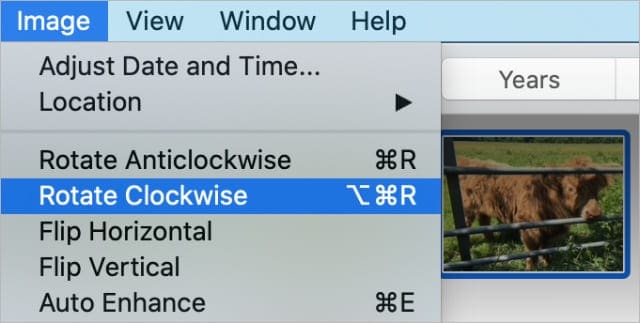
With a Mac, you can rotate lots of images at the same time. Select multiple images by holding Shift or Cmd. Then go to Image > Rotate Anticlockwise in the menu bar. Alternatively, use the shortcut Cmd + R.
Wait for Photos to create rotated thumbnails for each of the images, then go to Image > Rotate Clockwise to put them back to normal again. Or use the shortcut Option + Cmd + R.
Step 3. Reprocess Your RAW Photo Files
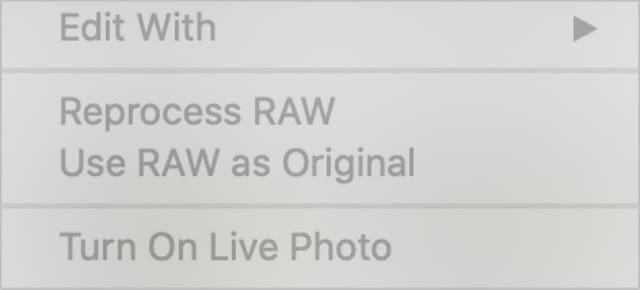
Professional camera equipment commonly saves photos as full-quality RAW files. If you imported pictures in this format, you might need to make Photos reprocess them fix your incorrect thumbnail. This is only possible on a Mac.
Double-click an image and click Edit in the top-right corner. From the menu bar, select Image > Reprocess RAW and wait for Photos to reprocess the file.
Step 4. Export and Restore the Original Unmodified Photos
Photos creates a new thumbnail file for every picture you import to your library. If the thumbnails are incorrect or missing, you can create new ones by exporting the pictures and then importing them as new again.
When you do this, we recommend you export the original unmodified photos. You lose any edits you made to the picture by doing this, but the alternative is to lose the original photo forever.
Select the photos you want to export, then go to File > Export > Export Unmodified Originals. In the pop-up window that appears, enable Export IPTC as XMP to include the photo metadata in your export as well; this saves information about where and when you took the photo.

Create a folder for your exported photos and click Export.
Now delete all the original pictures from the Photos app. Don’t worry, they should still exist in the Recently Deleted album.
When you’re done, drag and drop your exported images—and the metadata files—back into the Photos app to import them again. Photos should create new thumbnails for each image.
Step 5. Re-Sync Your Photo Library With iCloud
Similar to exporting and importing images, you can re-sync your photo library with iCloud. This is only an option if you already use iCloud Photos.
When you turn off iCloud Photos for a particular Apple device, you lose access to all your photos on that device. The next time you turn on iCloud Photos, syncs your entire library and creates new thumbnails.

There’s a strong chance that doing this could fix incorrect or missing thumbnails in the Photos app on your iPhone, iPad, or Mac.
Don’t worry about permanently losing any photos; everything remains in iCloud even when you turn off iCloud Photos. You’ll get the entire library back when you re-sync with iCloud afterward.
On an iPhone, iPad, or iPod touch go to Settings > Photos. Turn off iCloud Photos and choose to Remove from [Device]. Wait 10 minutes for your device to delete everything before turning iCloud Photos on again.
On a Mac, open Photos and go to Photos > Preferences from the menu bar. Turn off iCloud Photos and choose to Remove from Mac. Wait 10 minutes for your Mac to delete everything before turning iCloud Photos on again.

It might take several days to sync all your photos again. The exact length of time depends on the size of your photo library and the speed of your Wi-Fi connection.
Hopefully, your thumbnails will be correct afterward!
Try Using Google Photos Instead
There are lots of different photo apps available to use. As with most things, you need to find the best option for you. If you aren’t getting on with Apple’s Photos app or iCloud Photos, try switching to a different service instead.
A popular competitor to iCloud Photos is Google Photos, which lets you store unlimited compressed photos for free. It’s easy to transfer your iCloud photos to Google Photos, and you might find the thumbnails are more reliable.
Let us know your favorite photo app in the comments!

Dan writes tutorials and troubleshooting guides to help people make the most of their technology. Before becoming a writer, he earned a BSc in Sound Technology, supervised repairs at an Apple Store, and even taught English in China.


Just what I was looking for when I noticed many thumbnails on my Mac were randomly assigned the last photo taken on any of my synced devices. Everything was backed up so all I had to do on my Mac was Cmd+Option>Repair. Worked. Thanks!
Thanks for the tip. It was a simple fix to rotate all my cloud thumbnails counterclockwise and back to restore the missing thumbnails.